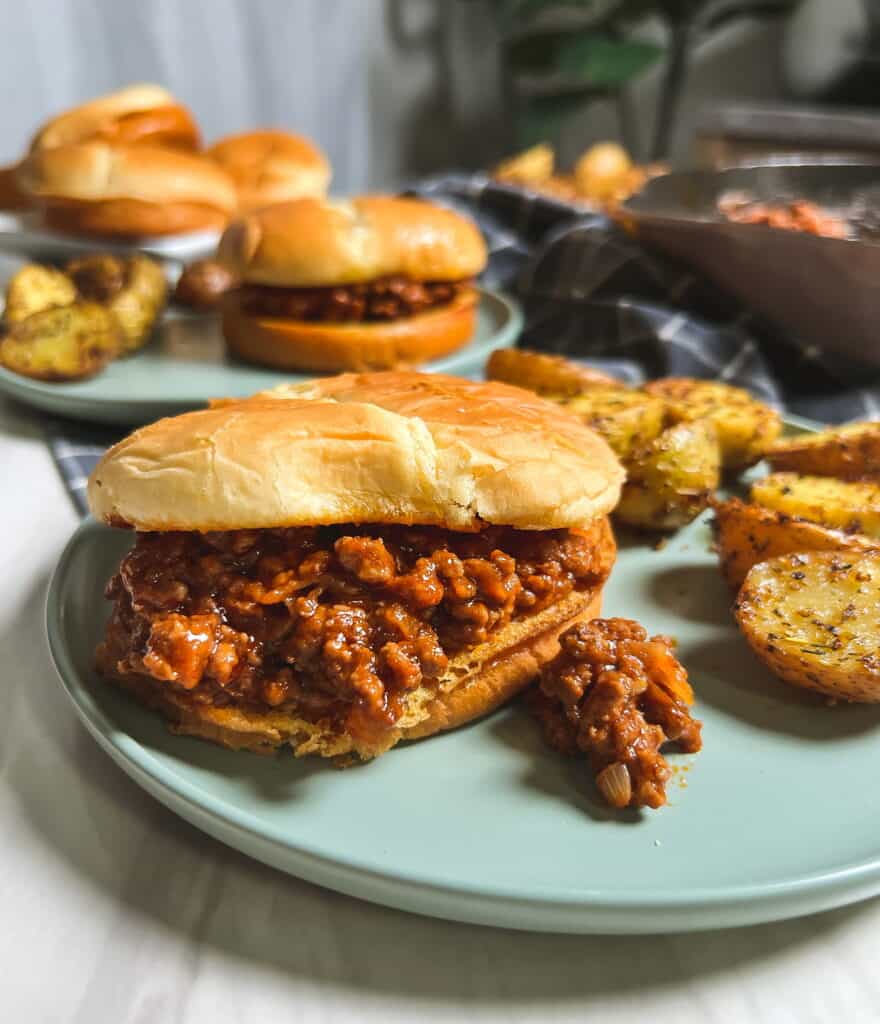
A Tangy Classic Sloppy Joe is a classic American sandwich that’s perfect for a quick and easy dinner, a fun lunch, or party food. This sandwich is made with ground meat, onions, and a tangy tomato sauce, all served on a soft bun. It’s a messy, but delicious, meal that everyone will love.
This blog post will give you the recipe for the Tangy Classic Sloppy Joe, as well as some variations and tips for making it even better. Whether you’re a busy parent, a college student, or just someone who loves a good sandwich, this post has something for you.
So, let’s dive in and learn how to make the perfect Tangy Classic Sloppy Joe!
To make this Tangy Classic Sloppy Joe, you’ll need:
Instructions:
1. In a large skillet over medium heat, add 1 tbsp oil. Add the onion and cook for 3-4 minutes.
2. Add the ground beef, breaking it apart using a wooden spatula, and cook for another 4-5 min.
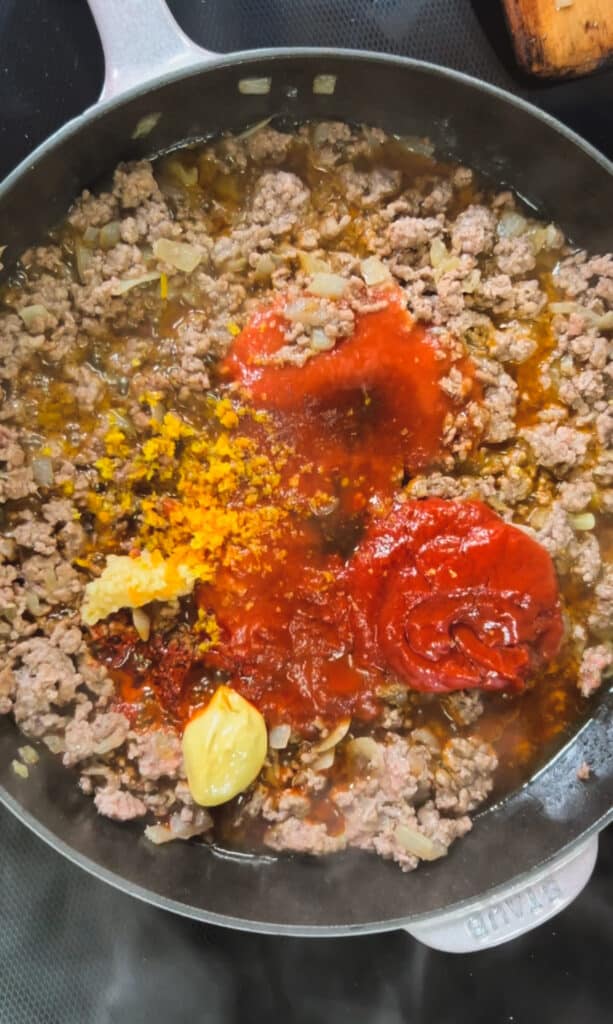
3. Stir in the ketchup, tomato sauce, Worcestershire sauce, Dijon mustard, sriracha seasoning, hot chile honey, molasses, minced garlic, orange zest, and a pinch of ground cloves. Season with salt and pepper to taste.
4. Reduce the heat to low and simmer the mixture for 10-15 minutes, or until the sauce has thickened.
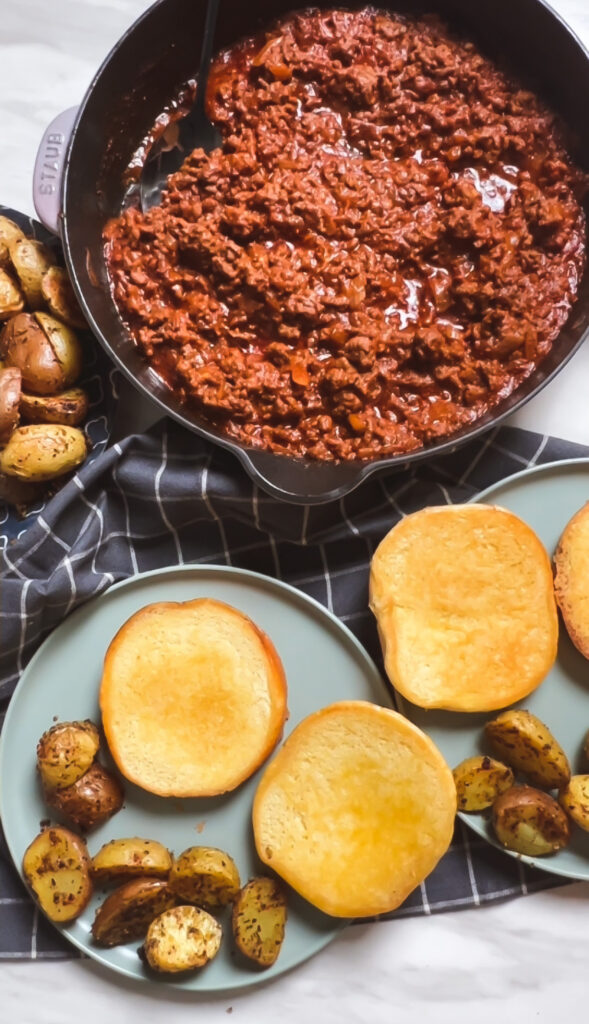
5. Serve the Sloppy Joe mixture on the hamburger buns, and enjoy!
Variations:
• you could try using ground turkey or chicken instead of beef or pork
• you could try adding vegetables like bell peppers or mushrooms
• you could try using different sauces like barbecue sauce or chili sauce
• you could try making it spicy by adding hot sauce or cayenne pepper
Tips:
• Serve the Sloppy Joe on a toasted bun for a little extra crunch
• Serve it with a side of coleslaw or potato salad for a well-rounded meal
• You can also make a large batch of the meat mixture and freeze it for later use.
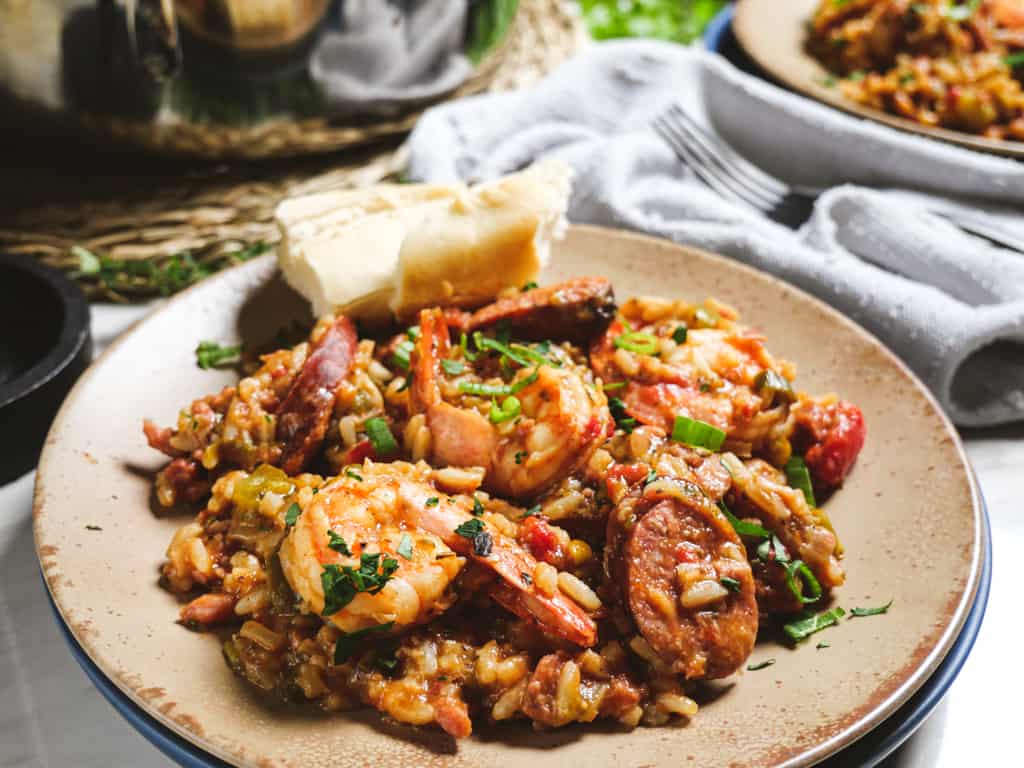
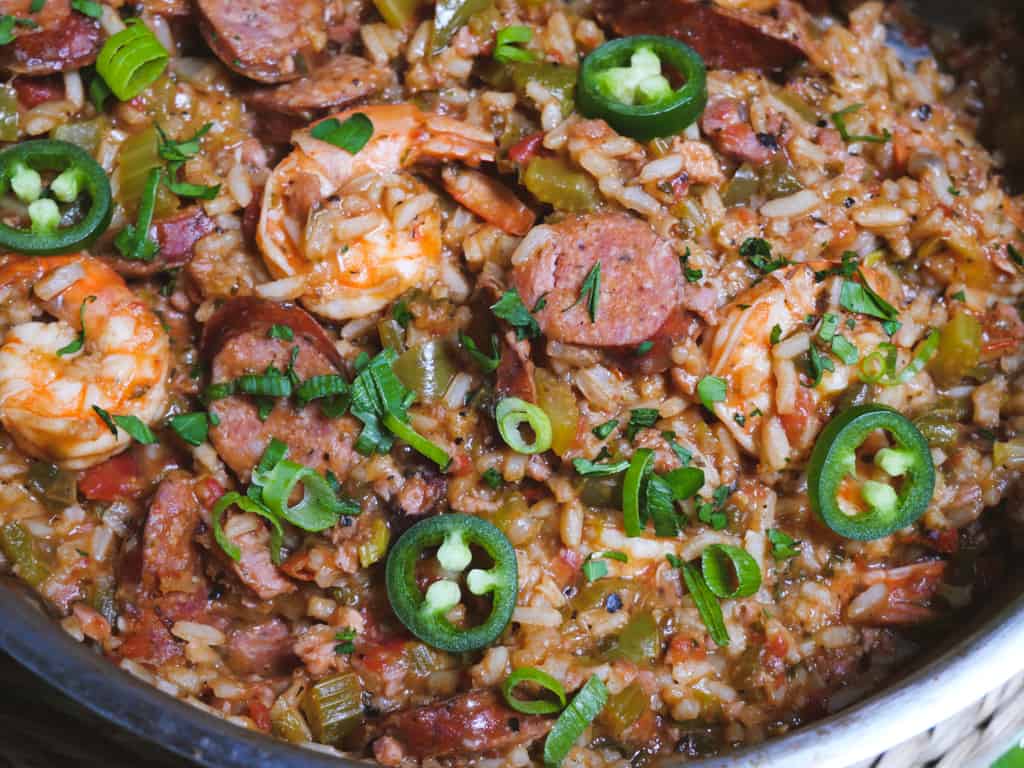
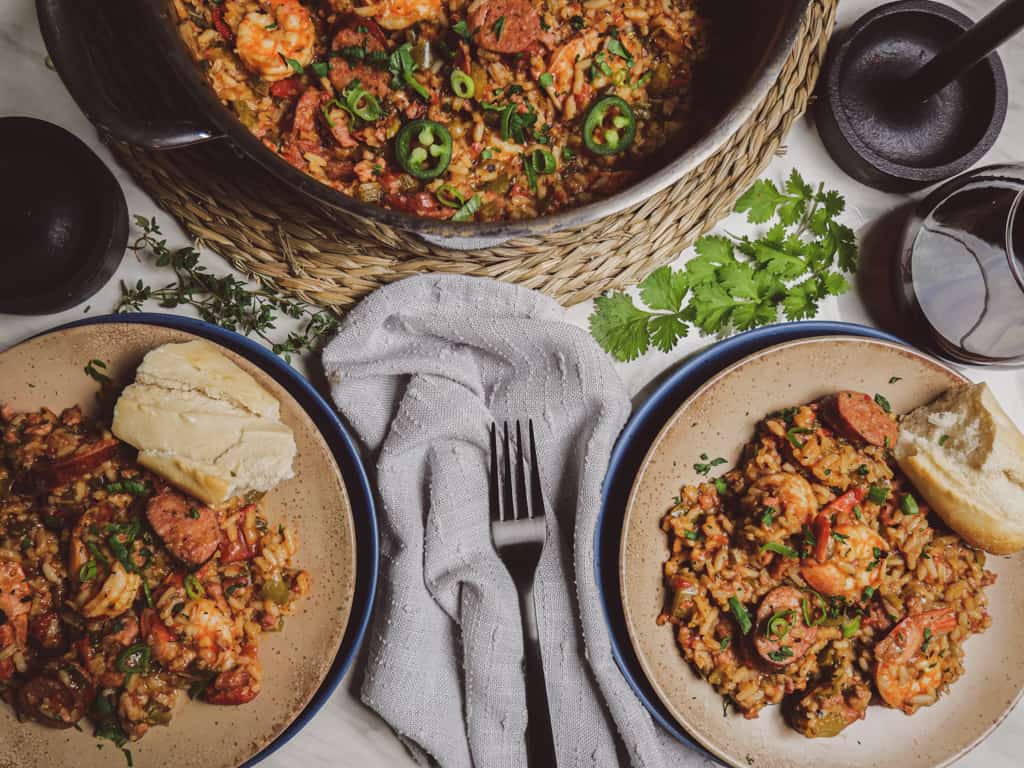
This Jambalaya with Sausage and Shrimp is a savory dish full of that bold creole flavor. It will surely become a weeknight staple in your household.
Jambalaya is a Louisiana-born dish with roots in Spanish and French cuisine. It was inspired by both the French style of pilaf and the Spanish dish paella.
Jambalaya commonly consists of andouille sausage, chicken or pork, and seafood such as shrimp or crawfish cooked with white rice, along with a seasoning combination of onion, celery, bell pepper, cayenne pepper, and thyme. This gives Jambalaya its Creole/Cajun flavors, making it an incredibly flavorful dish.
There are two types of Jambalaya: Creole and Cajun. The primary difference between them is that Creole Jambalaya – also known as Red Jambalaya – includes tomatoes, whereas Cajun Jambalaya does not. Both use the so-called holy trinity – onion, celery, and bell pepper (usually green).
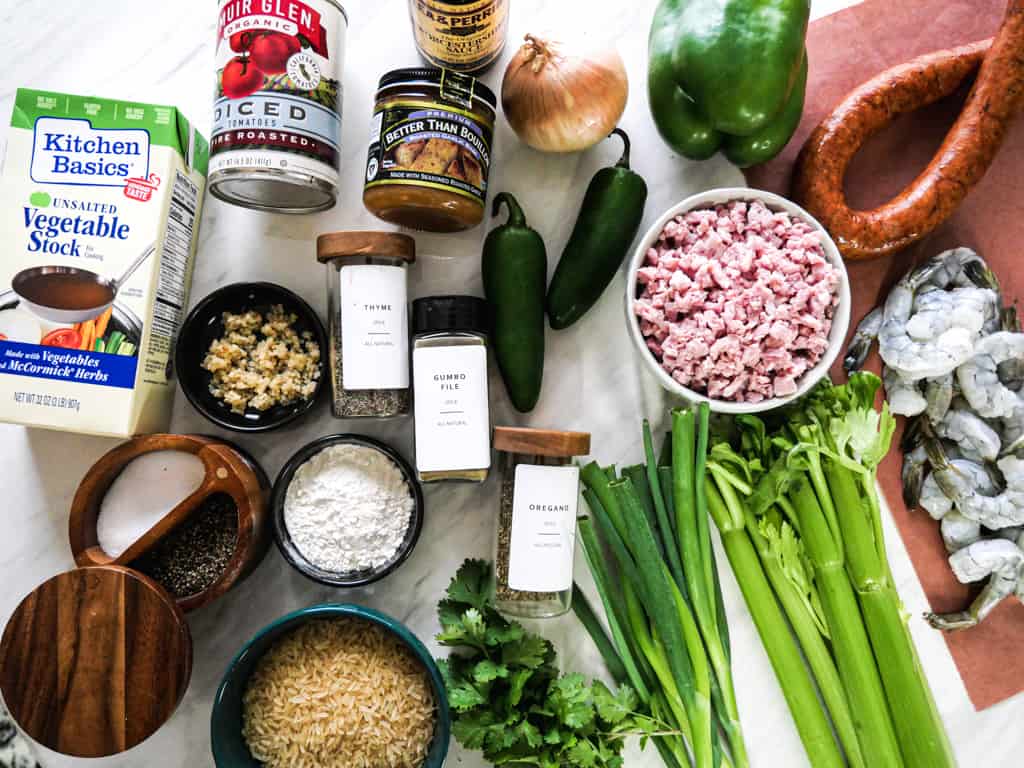
What do you need for Jambalaya with Sausage and Shrimp?
What is Andouille Sausage, and what is the difference from regular sausage?
Andouille sausage is different because instead of being a minced meat stuffing, the filling is instead chopped or sliced, giving it a chunkier texture. It also has an intense flavor that most likely comes from smoking while cooking and can range anywhere between spicy to mild, depending on what was used. If you can’t find andouille sausage, you can use smoked sausage instead.
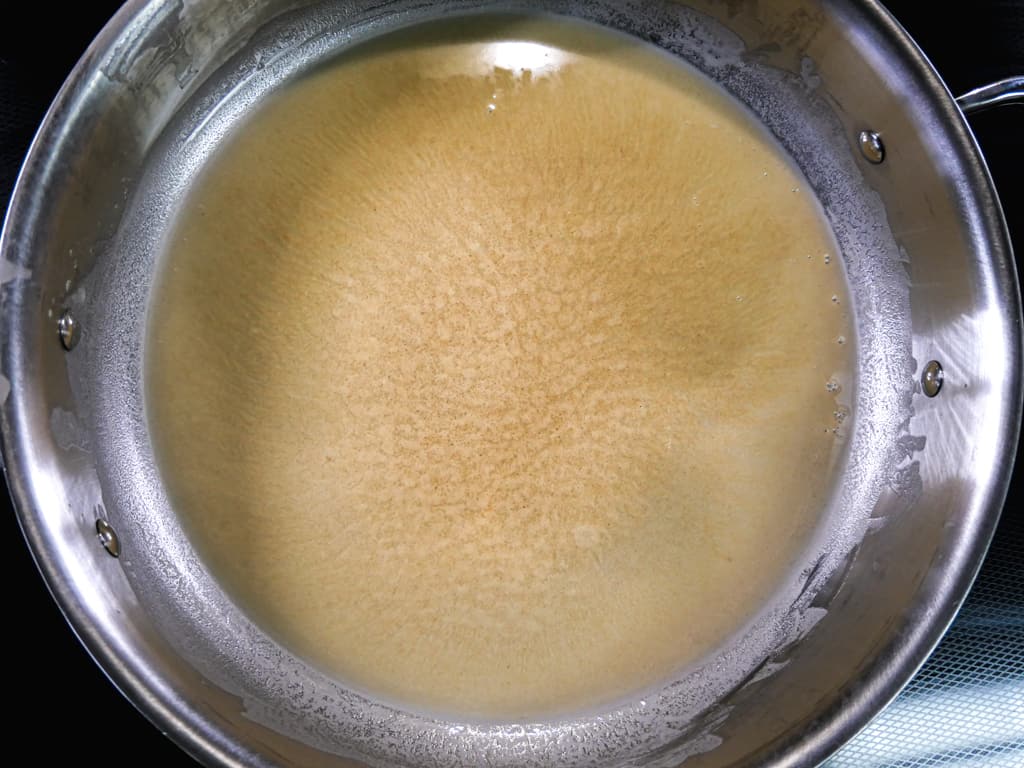
Start by making your roux with 2 tbsp of canola oil (or other vegetable oil) and 2 tbsp of all-purpose flour. Heat a stock pan or deep skillet over medium heat. Add the oil and flour, whisking to blend, and slowly brown the roux for 5-6 minutes. Be careful not to burn your roux.
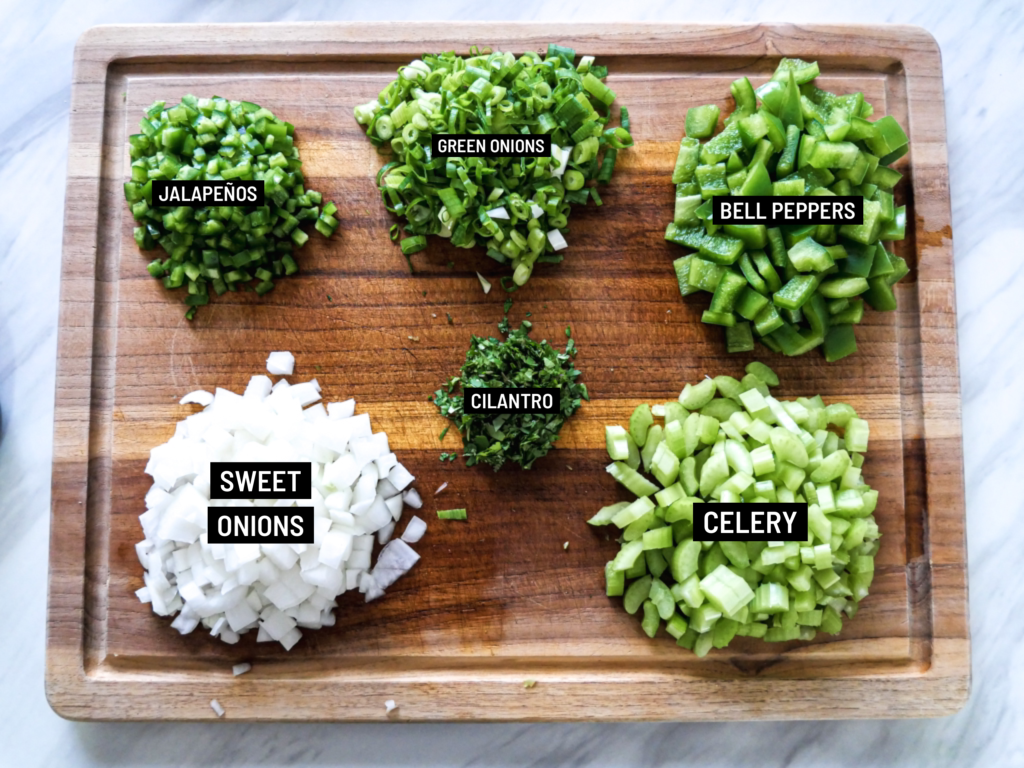
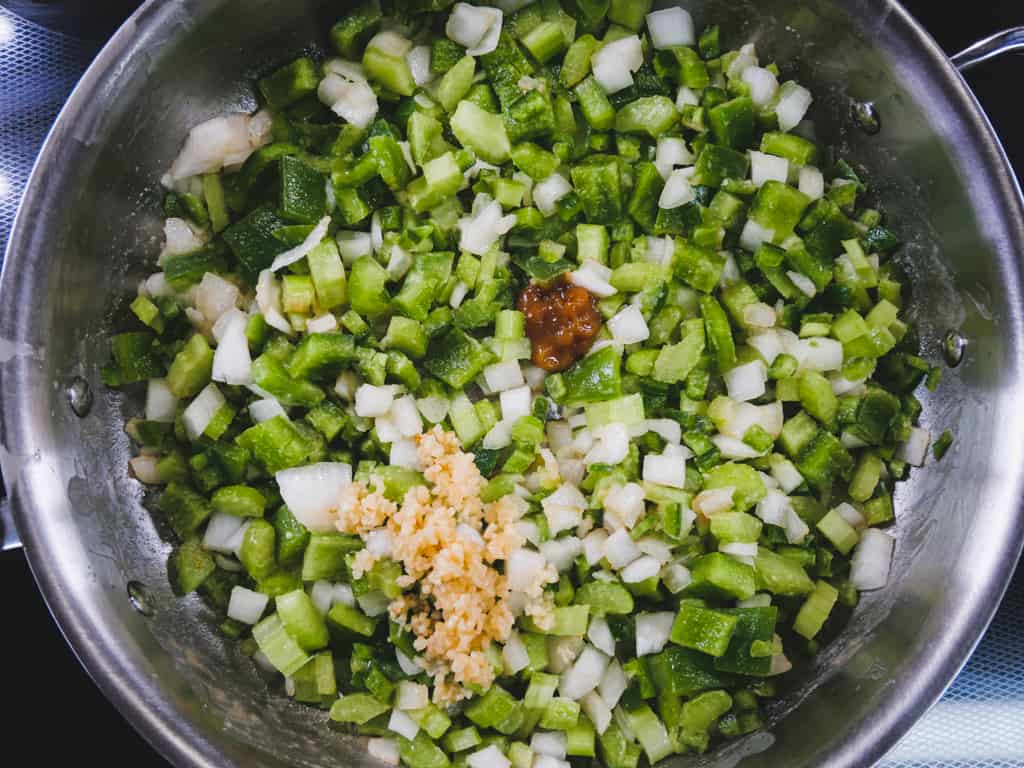
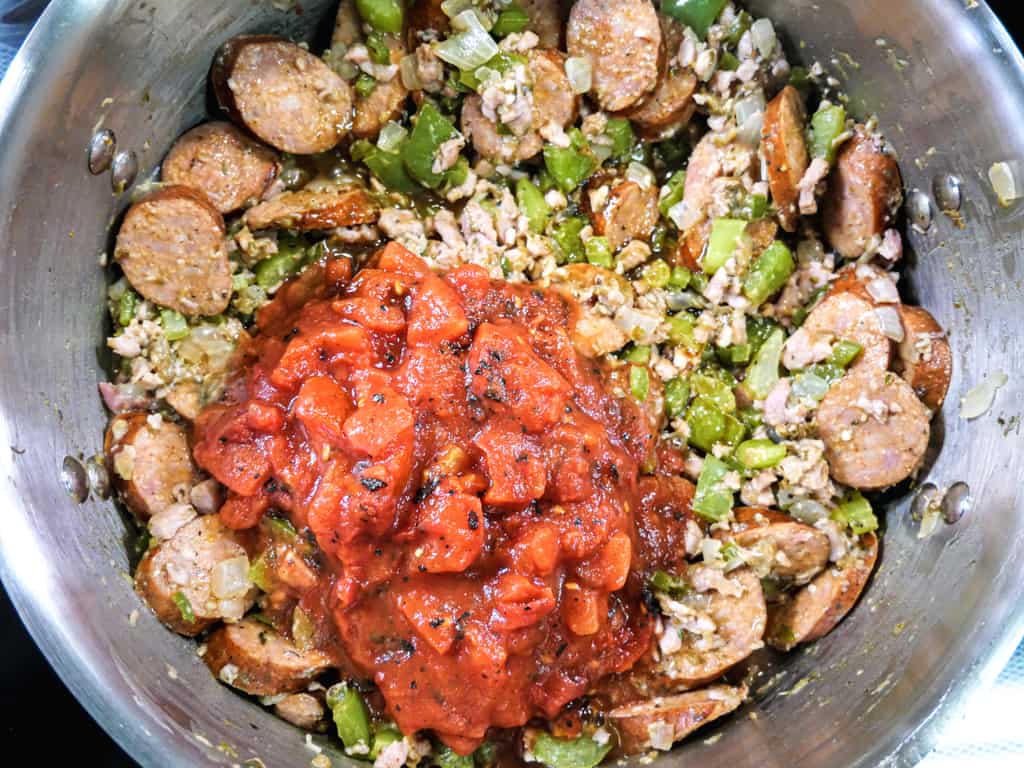
Toss in the celery, jalapenos, green bell peppers, and onion, and saute for 4-5 minutes until they begin to soften. Add in the garlic and roasted garlic bouillon base and stir together.
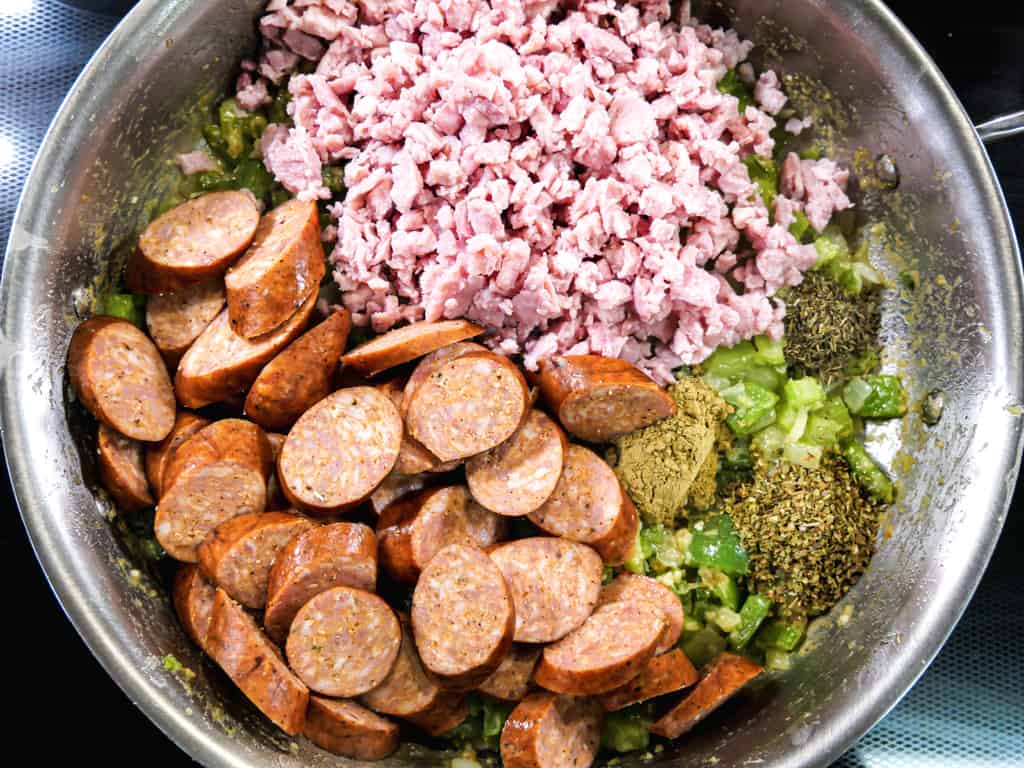
Add the andouille sausage, ham, oregano, thyme, and gumbo file and mix them together. Let cook for 3-4 minutes.
Next, add the fire-roasted diced tomatoes and Worcestershire sauce, then let bring to a boil. Stir it often to prevent the bottom from sticking (AKA Fond). If any areas are beginning to stick, use a wooden spoon or spatula to loosen the fond, which adds to the dish’s flavor.
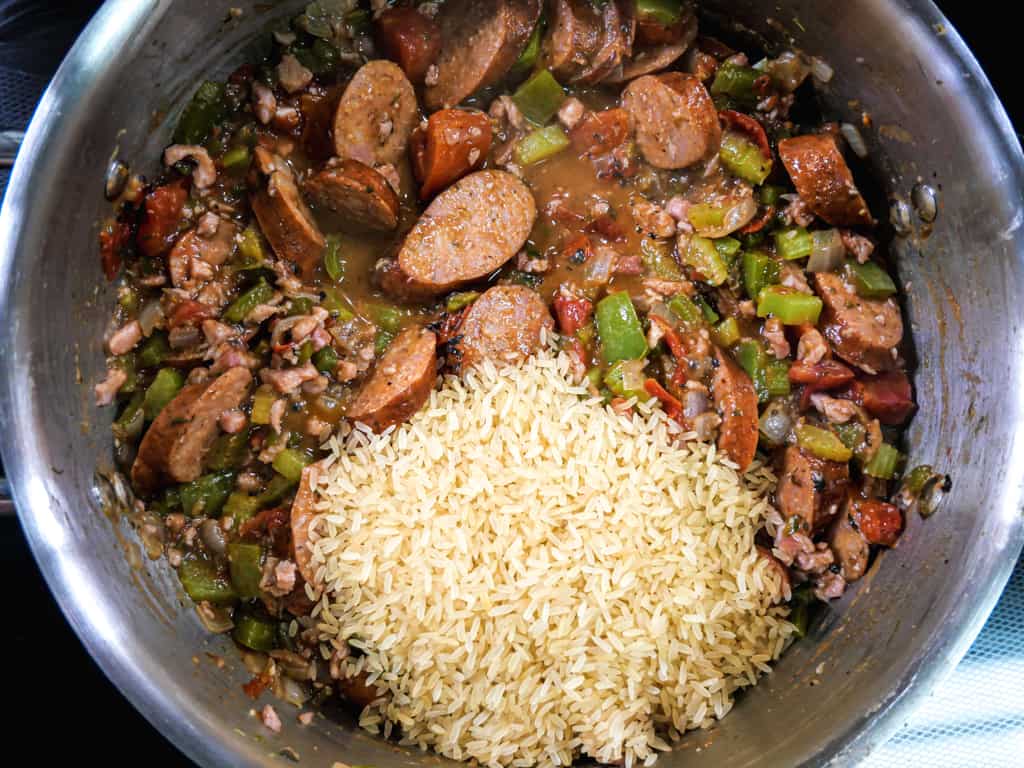
Once it begins to boil, reduce to medium-low, then add in the uncooked rice and vegetable stock (or broth) and simmer uncovered for 25-30 minutes.
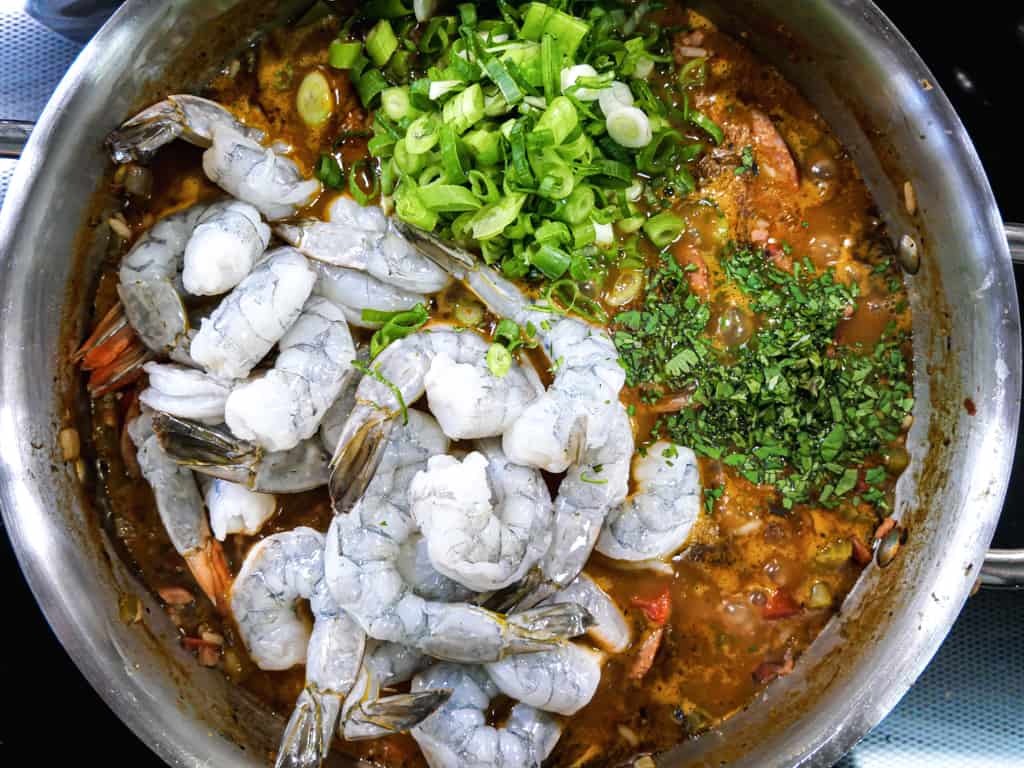
Add in the shrimp, 3/4 cup of green onions, and cilantro, and stir together. Cook for another 12-15 minutes until the shrimp is pink and opaque. Salt and pepper to taste.
Serve this dish warm for the best flavor and top with leftover green onions. Serve alongside a few slices of toasted baguette bread to enjoy this delightful dish!
Have some leftovers?
Store any leftovers in an air-tight food-safe container for up to 3-4 days in the fridge. Reheat in the microwave until warm throughout.
What to serve with Jambalaya.
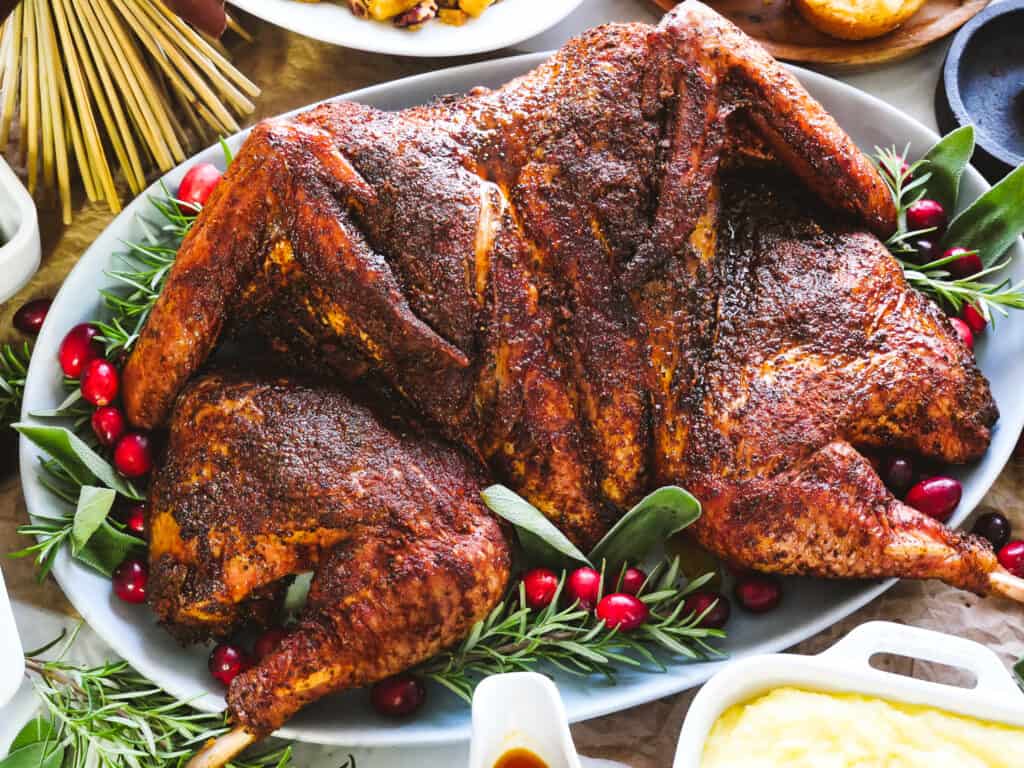
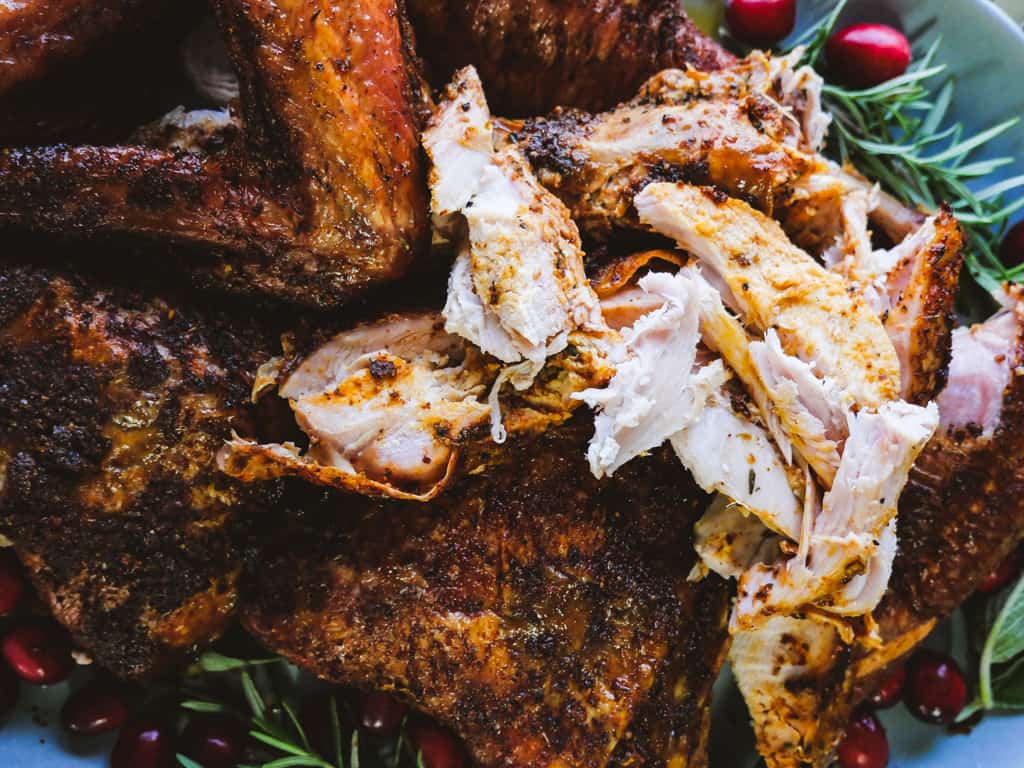
This Juicy Smoked Cajun Turkey with that bold Cajun flavor that is sure to impress everyone at the table. It’s easy to make and doesn’t take up valuable oven space that is needed for all your other side dishes.
What you’ll need for making this Juicy Smoked Cajun Turkey.
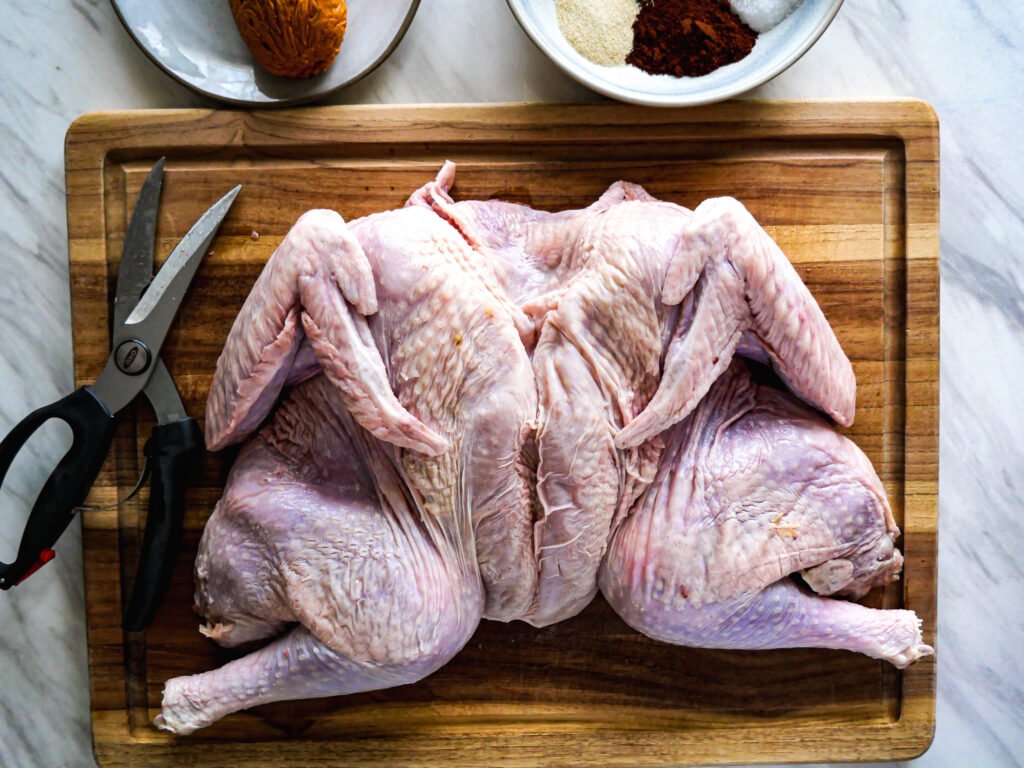
WHOLE TURKEY | Frozen or fresh whole turkey works for this. If you get a frozen turkey, make sure to fully thaw it over 2-3 days depending on the size of your bird. Before adding your seasonings, make sure to dry of any excess moisture on the skin before spraying with cooking spray to help bind the spices to the skin.
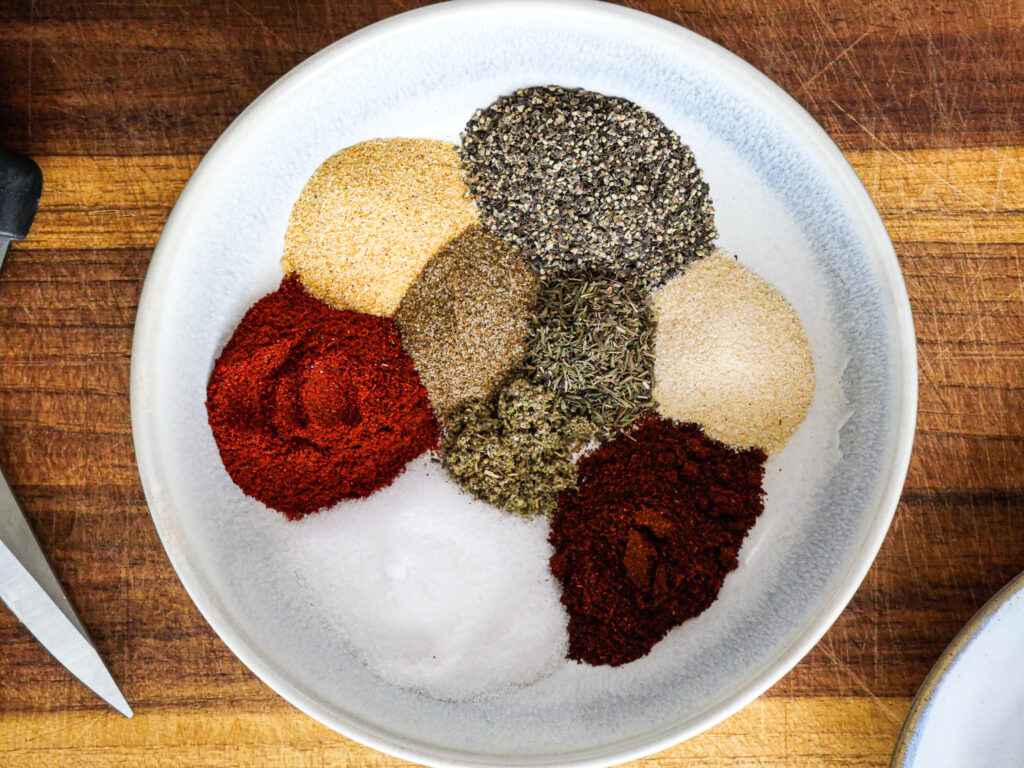
CAJUN RUB SEASONING | A bold blend of smoked paprika, chili powder, garlic powder, onion powder, dried thyme, rubbed sage, celery salt, and salt + black pepper.
CAJUN COMPOUND BUTTER | An easy to make Cajun flavor infused butter that is versatile to use it on so many other dishes other than a whole turkey. It consists of 2 sticks of softened
COOKING SPRAY | I use cooking spray since it’s easier to use, but you can brush the skin down with a light coat of olive oil to help bind the seasonings if you do not want to use cooking spray.
WOOD/ELECTRIC SMOKER | I use an electric smoker, cause let’s be honest, I’m not too savvy with grills or smokers. So, an electric smoker is perfect for me. It runs like an oven, you just set the temp and it maintains it for you.
MEAT INJECTOR | I love my OXO meat injector as it’s easy to use and clean afterwards. The syringe needles come in two different gage sizes, and I used the larger gage for this recipe.
Start with preheating your Smoker to 250F.
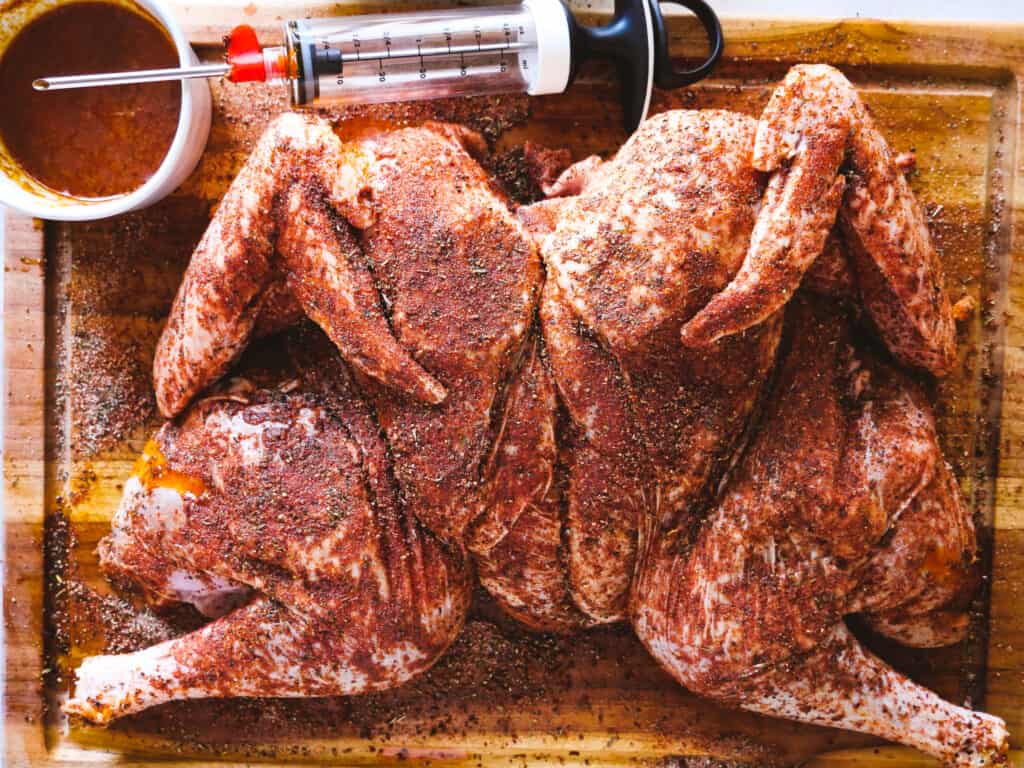
Spray the whole top of the turkey with cooking spray. In a small bowl, mix the Cajun Rub Seasoning ingredients and cover the entire top of the turkey with the rub seasoning and massage it into the skin.
Take 3/4 of the Cajun compound butter and slice into 1/2-inch slices. Gently use your hand to separate the skin from the meat of the breast and thighs on the turkey. Place several slices under the skin throughout the breast and thigh areas.
In a microwave-safe bowl, melt the remaining butter. Then using a meat injector, inject the melted butter directly into a few areas along the breast, thighs, and drumstick meat.
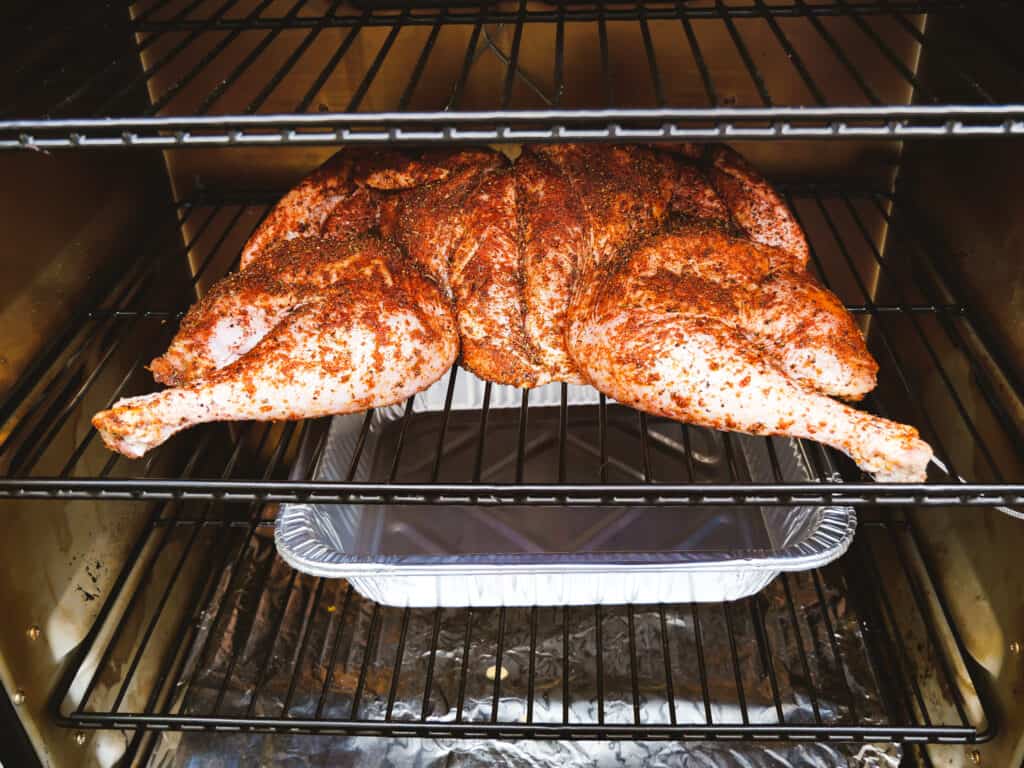
Place your seasoned turkey on the rack in your preheated smoker along with a large aluminum tray pan underneath the rack to catch the drippings from the turkey to use in dressings or gravy.
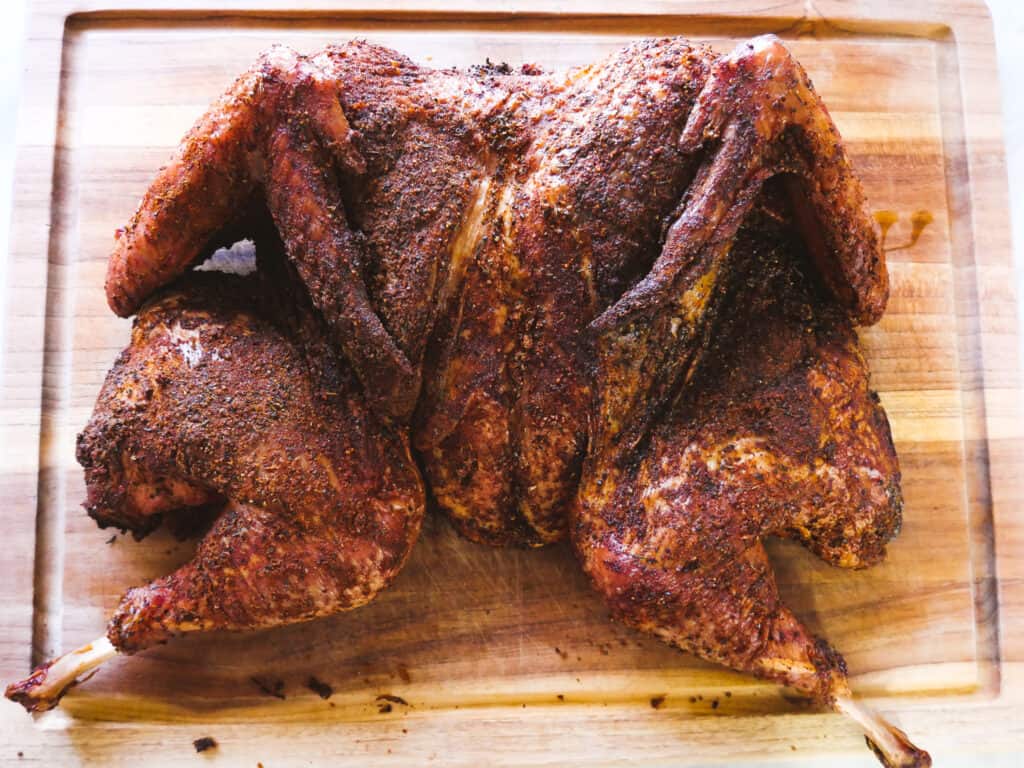
Typically for an 8.5lb turkey like I used, it takes about 4 hours to fully cook. This time will vary some depending on the size of your turkey. You want the internal temp to be 165F in the thickest part of the breast meat.
I used my beloved Meater+ Smart Meat Thermometer to keep track of the internal temperature of the turkey to make sure it was not going to overcook. It gave me a little sense of peace during the rush of cooking all day knowing I didn’t have to keep checking on the turkey and it alerted me when to take it out of the smoker to rest.
Once your turkey is done, cover with aluminum foil and let it rest for 20-25 minutes.
Serve with your favorite sides, like:
Oven-Roasted Green Beans with Almonds
Brown Butter Garlic Mashed Potatoes
Maple Pecan Candied Sweet Potatoes
And, of course, some Carrot Cake with Vanilla Cream Frosting for dessert!
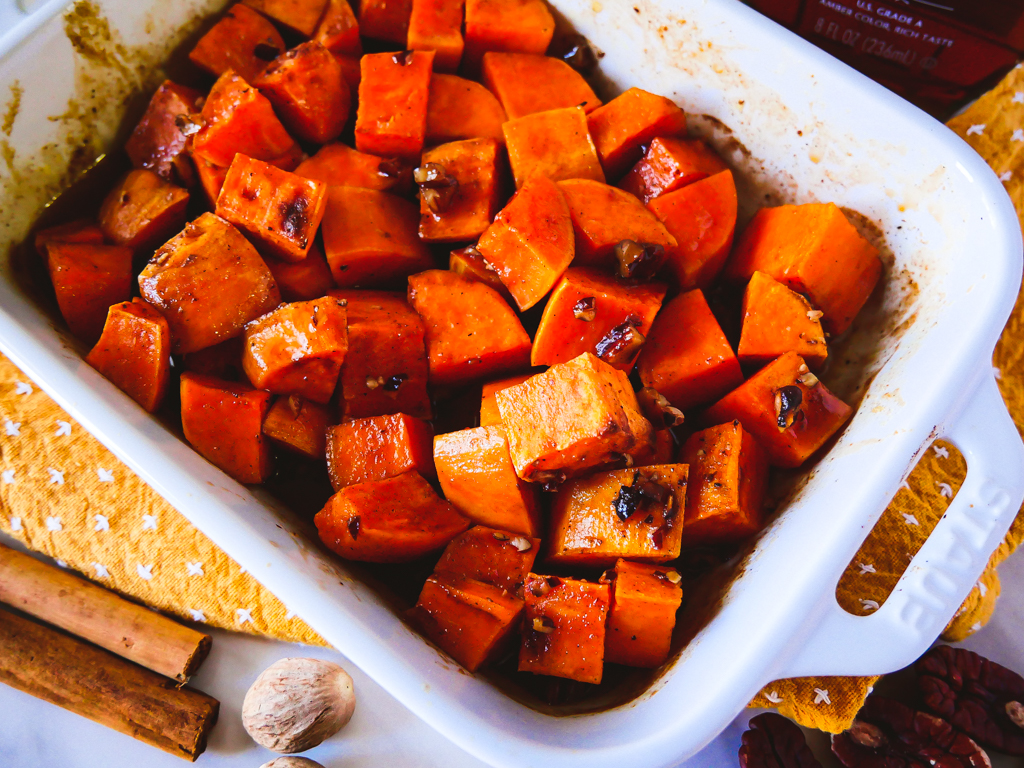
What holiday feast doesn’t have some variation of sweet potatoes? Well, these Maple Pecan Candied Sweet Potatoes will be your new holiday staple that everyone will ask you to make each year.
** No shame, but during my recipe testing to get these little sweet golden cubes my version of perfect, I would eat the ENTIRE dish all to myself. I just couldn’t share it. It was just too good and I couldn’t stop myself.
So if you don’t judge, I won’t judge either if you eat the whole dish yourself too.
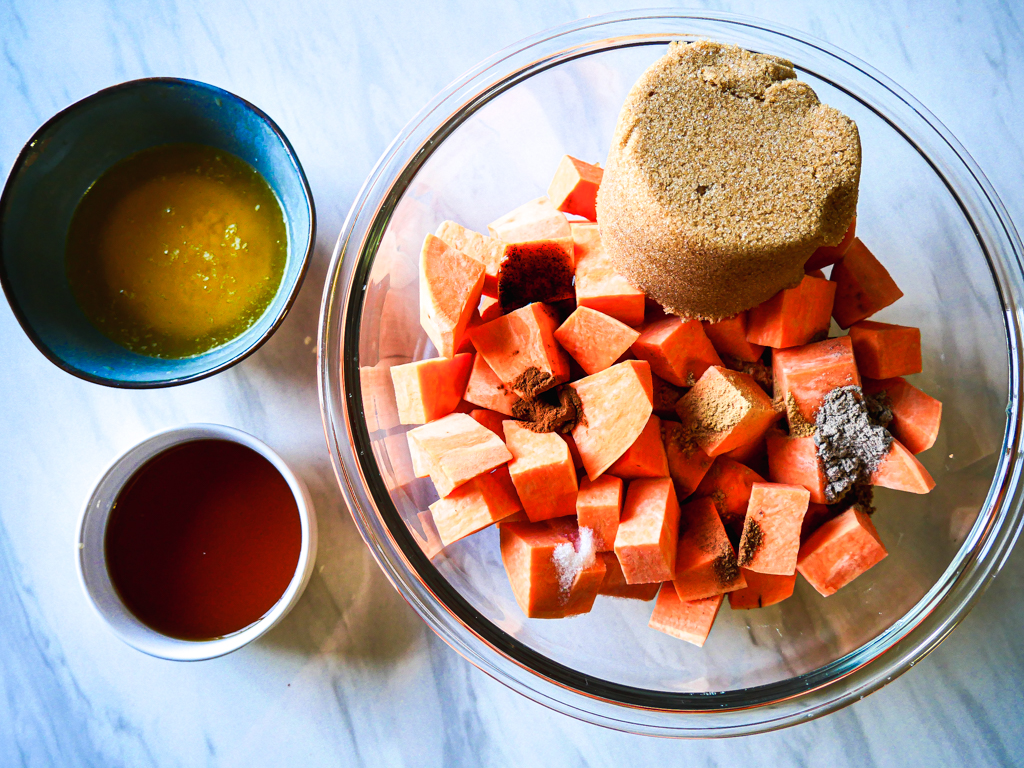
SWEET POTATOES | Diced into 1-inch cubes. Make sure you pick sweet potatoes that are deep orange or red in skin color, as they are sweeter and have a creamier texture as they cook.
BROWN SUGAR | I use dark brown sugar for a deeper caramel flavor, but you can use light brown sugar if you want a milder flavor.
MAPLE SYRUP | Use real maple syrup for that complex maple flavor with hints of caramel and vanilla that elevate those sweet flavors in the dish.
MELTED BUTTER | Use good-quality butter for a deep rich buttery flavor.
GROUND CINNAMON + NUTMEG | The well-known staple spices in just about every fall dish. Seriously, what sweet fall dish does not have these spices in it?
GROUND CARDAMOM | Introducing the complex aromas of this eucalyptus, mint-tasting spice that brings this dish to life. It pairs perfectly with the peppery yet subtle citrusy flavors of ginger.
VANILLA BEAN PASTE | It has a stronger flavor, but you can use vanilla extract instead of vanilla bean paste.
GROUND GINGER | peppery yet subtle citrusy flavors are the perfect addition to balance out the sweetness in the dish.
CRUSHED PECANS | Crushed pecans sprinkled on top for an added crunch to liven up the textures in this dish.
Preheat your oven to 400F.
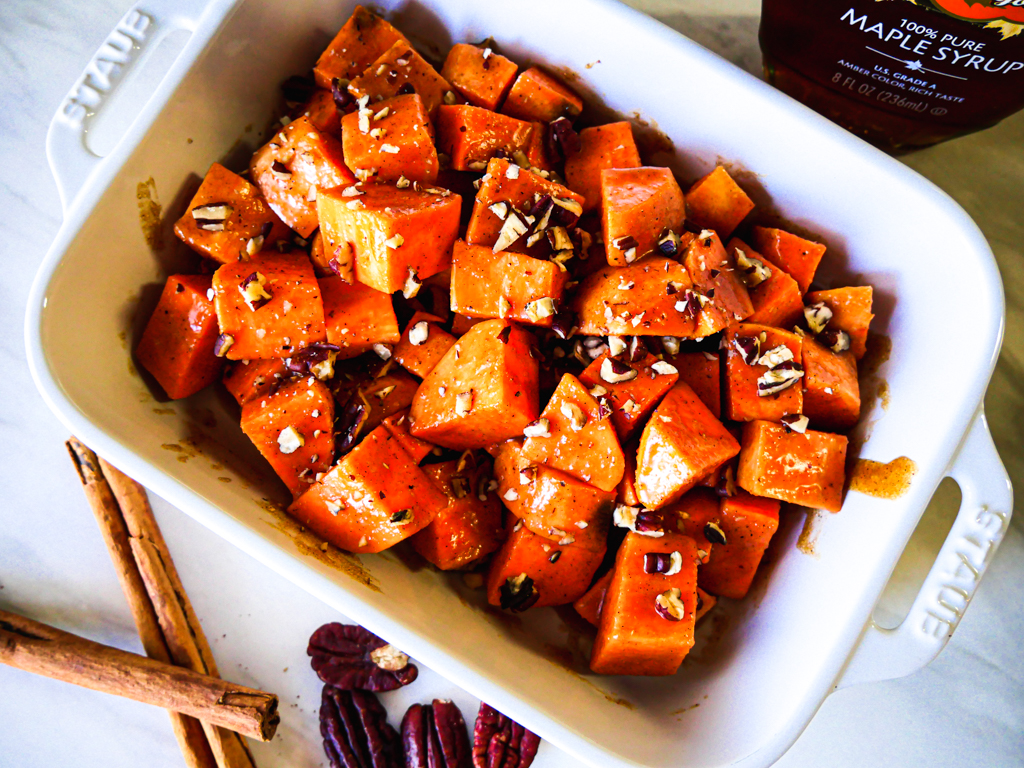
Mix all the ingredients in a large mixing bowl until fully combined, and the sweet potatoes are evenly coated.
Dump them in a casserole dish and cook in the preheated oven for 30-35 minutes or until the sweet potatoes are tender and easily pierced with a fork.
Pair it with some Oven-Roasted Green Beans with Almonds.
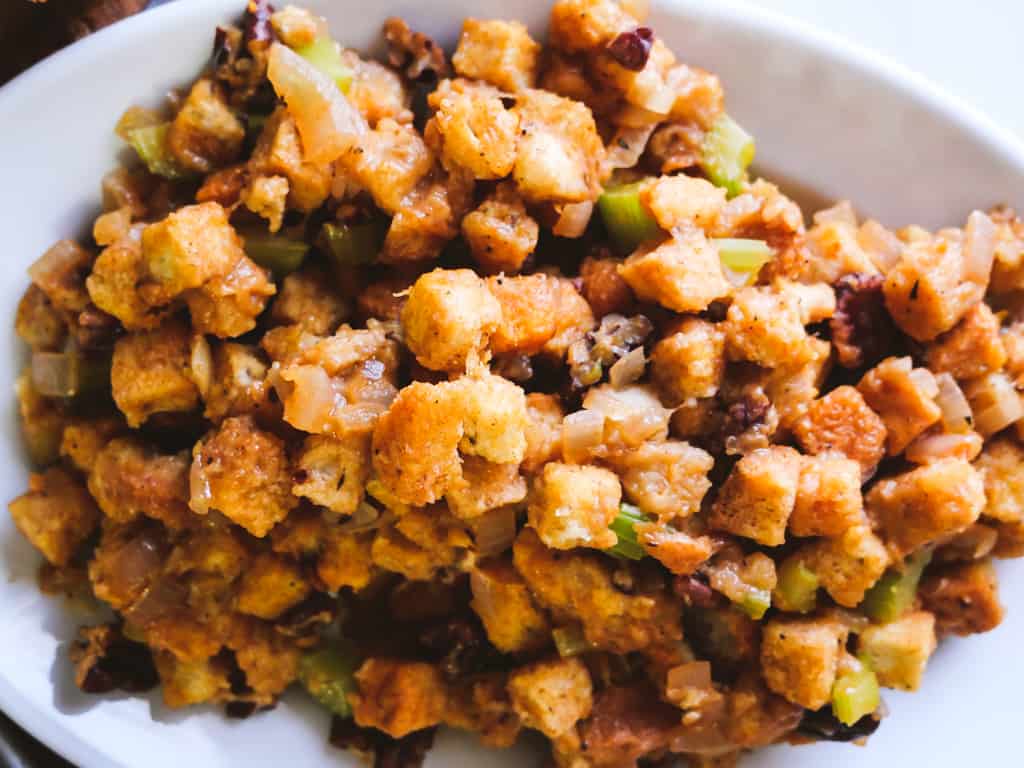
This Sweet Pecan Stuffing is the pure essence of a good southern pecan pie. Warning, these are addictive! Make sure you have plenty to go around, plus extra for seconds.
I never liked stuffing until I played with the flavors to liven it up and turn it into something I’d enjoy eating. Well, say hello to this amazingly addictive and flavor-packed Sweet Pecan Stuffing! And if you want to take it up a notch to further enhance the flavors, add 1 tbsp of good-quality bourbon whiskey to the mix.
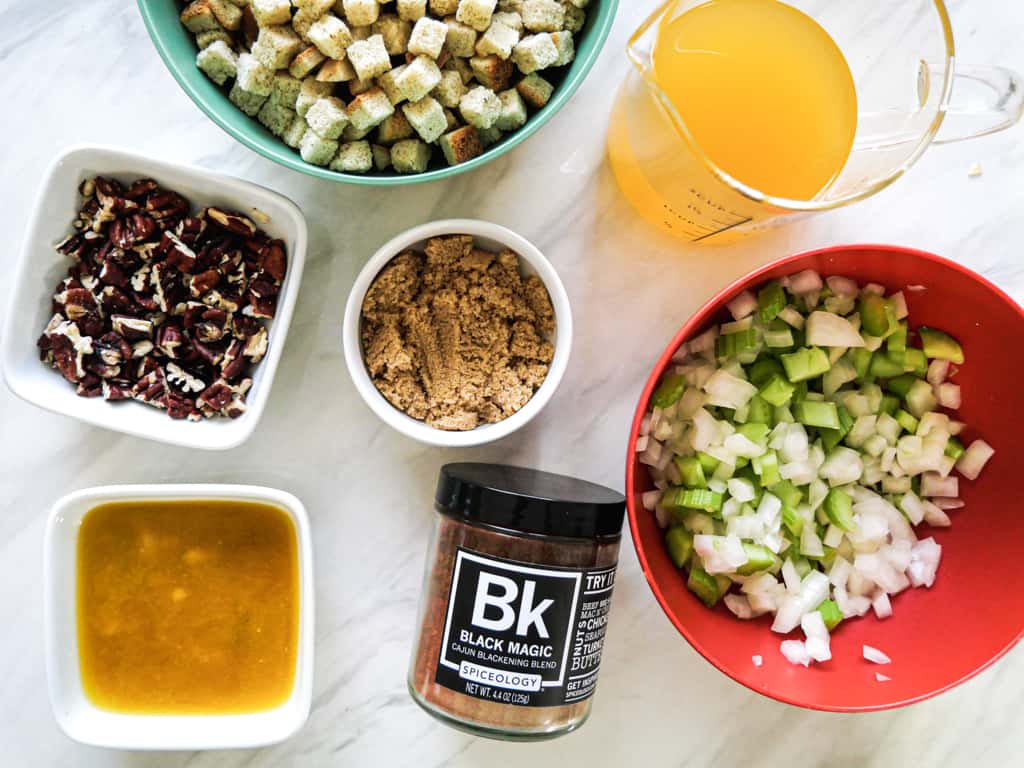
CUBED STUFFING BREAD | You can keep it easy and buy pre-made cubed bread or make your own. Just cut a loaf of bread into 1/2-inch cubes and bake at 225F for 30-40 minutes to fully dry the bread out, and there you have it, bread for stuffing!
YELLOW ONION | Don’t want to use yellow onion? No problem, you can swap it out with white or sweet onion or even shallots.
CELERY | The holy grail of stuffing, well, besides the bread. It’s the perfect addition to the onions bringing a crisp, aromatic flavor to the stuffing.
CHICKEN STOCK | Use good-quality chicken stock. It makes a world of difference in elevating the flavors in the stuffing.
PECANS | It adds that much-desired buttery, nutty crunch with every bite.
BROWN SUGAR | I use dark brown sugar for that deep caramel taste, but you can use light brown sugar for a much milder taste if you prefer.
BROWN BUTTER | Butter, but playing off those caramel aromas of the dish. Want to use plain butter? Go for it!
CAJUN SEASONING | Use your favorite Cajun seasoning! As for me, I love Spiceology’s Black Magic – Cajub Rub Seasoning! It’s that perfect Cajun blend that really hits the spot in all the dishes I use it in.
Think pecan pie, but make it stuffing!
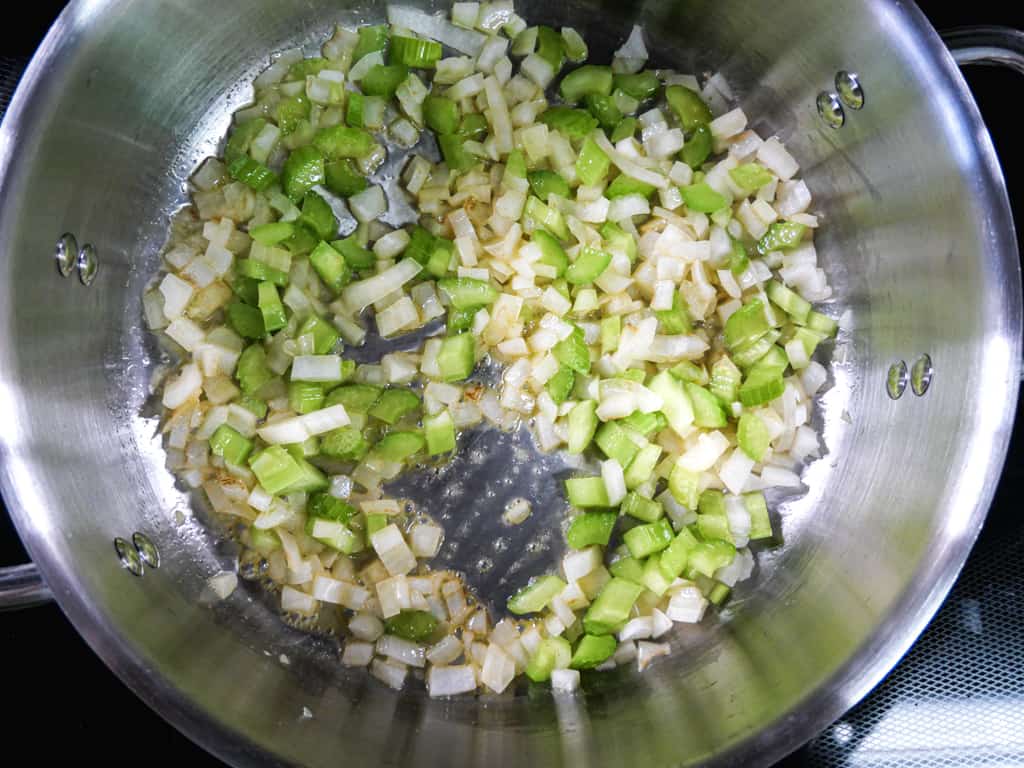
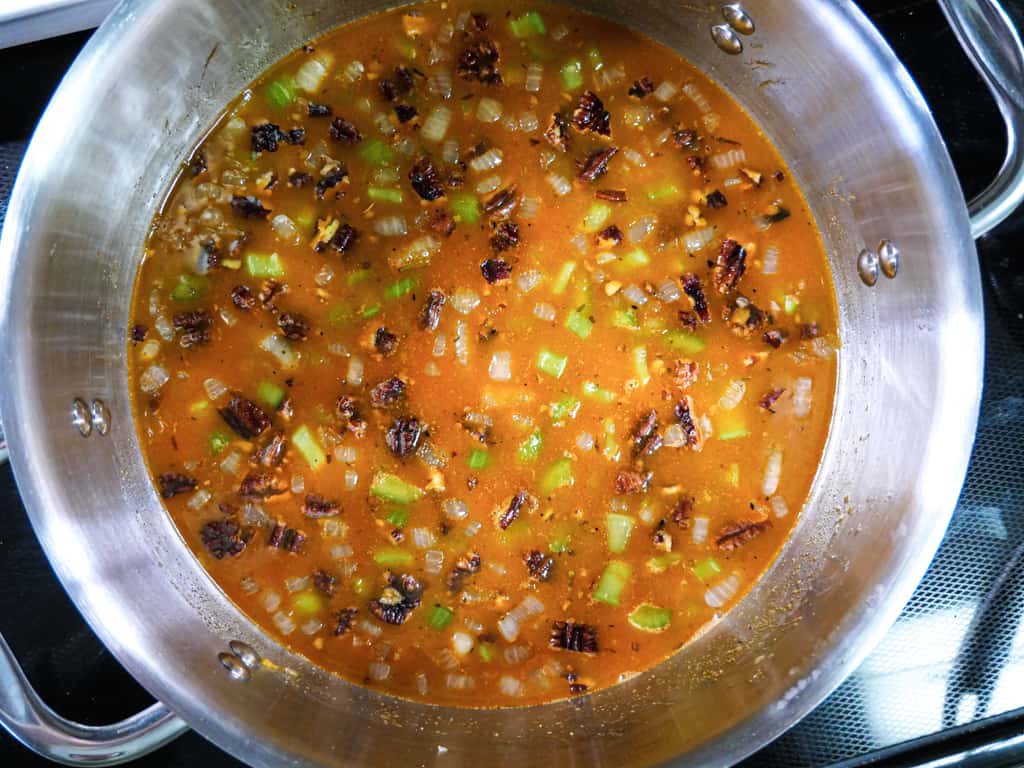
Start by sauteing the onions and celery in 2 tbsp of brown butter in a skillet over medium heat for 3-4 minutes.
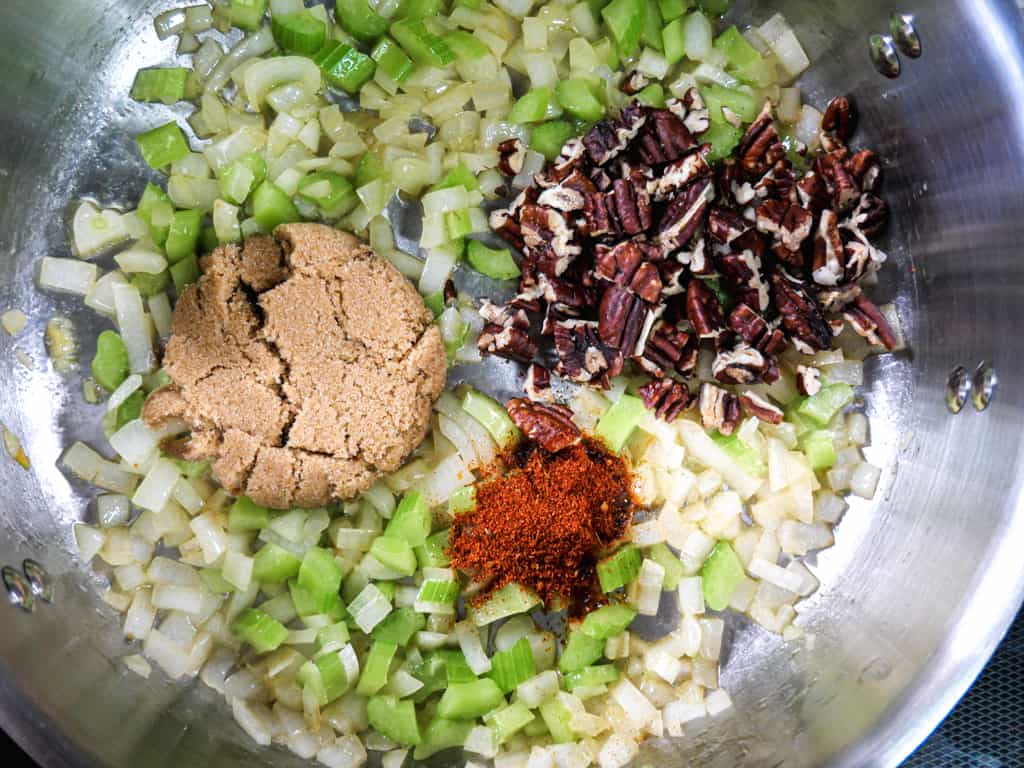
Add in the brown sugar, chopped pecans, and cajun seasoning. Mix to combine and let cook for another 2-3 minutes.
Pour in the chicken stock and bring to a boil. Once it begins to boil remove the pot from direct heat.
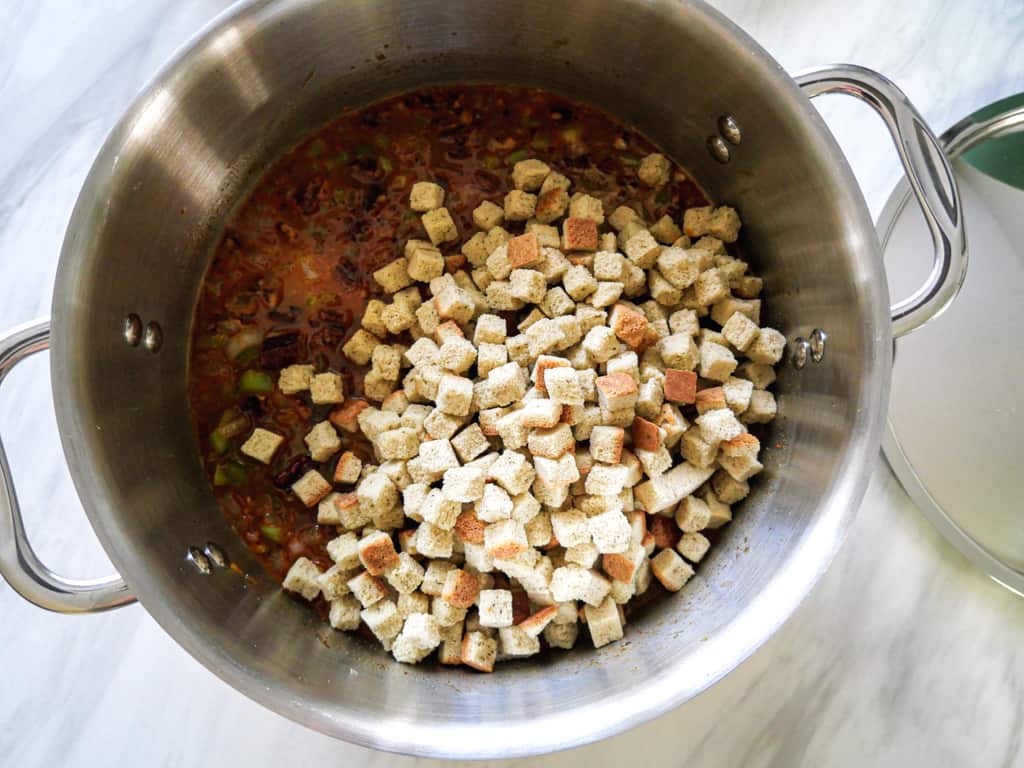
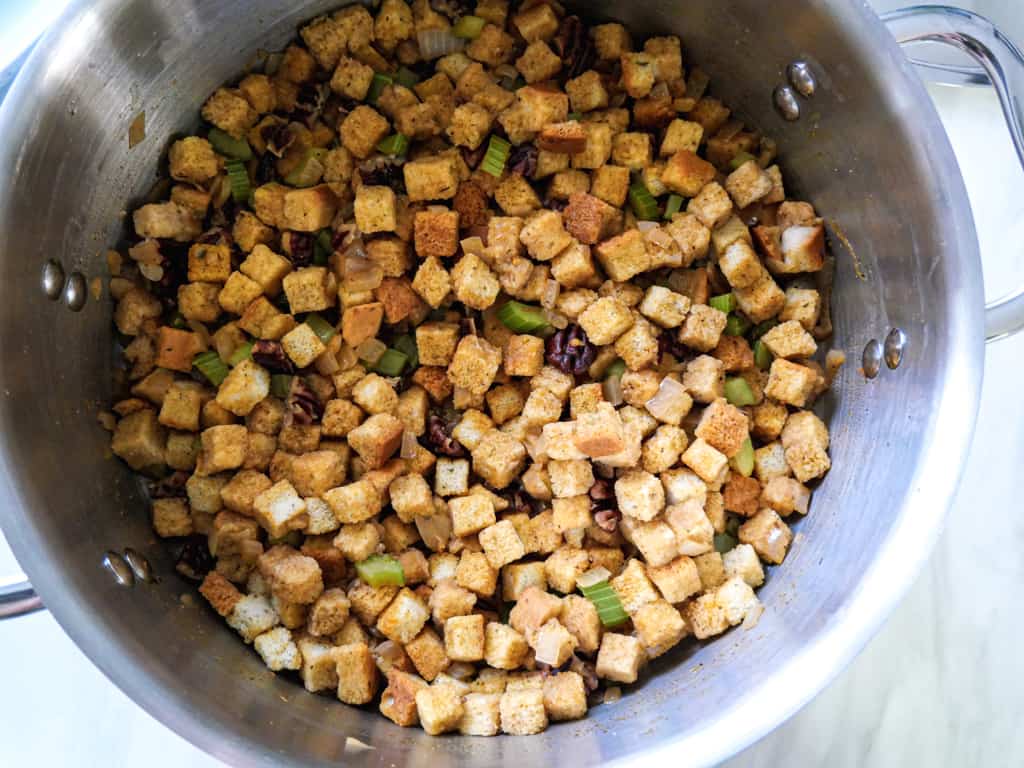
Add the cubed stuffing bread and mix it with the stock mix. Cover and let sit for 15-20 minutes.
Now, fluff with a fork and dig in!
Okay, don’t forget about the rest of the feast. You need the main star of the show. TURKEY! This stuffing pairs perfectly with a Juicy Smoked Cajun Turkey.
Everyone loves a good homestyle macaroni and cheese recipe. This Cajun Baked Mac n Cheese has that same traditional flavor but with a little Cajun flare! It’s far from spicy yet so savory that you’ll want to eat the whole dish all to yourself.
No Judgments Here!
You’ll have everyone returning for seconds and good luck with any leftovers! This was a hit at our family gathering, and I wish I doubled the recipe. Who knew five people would devour so much mac n cheese?
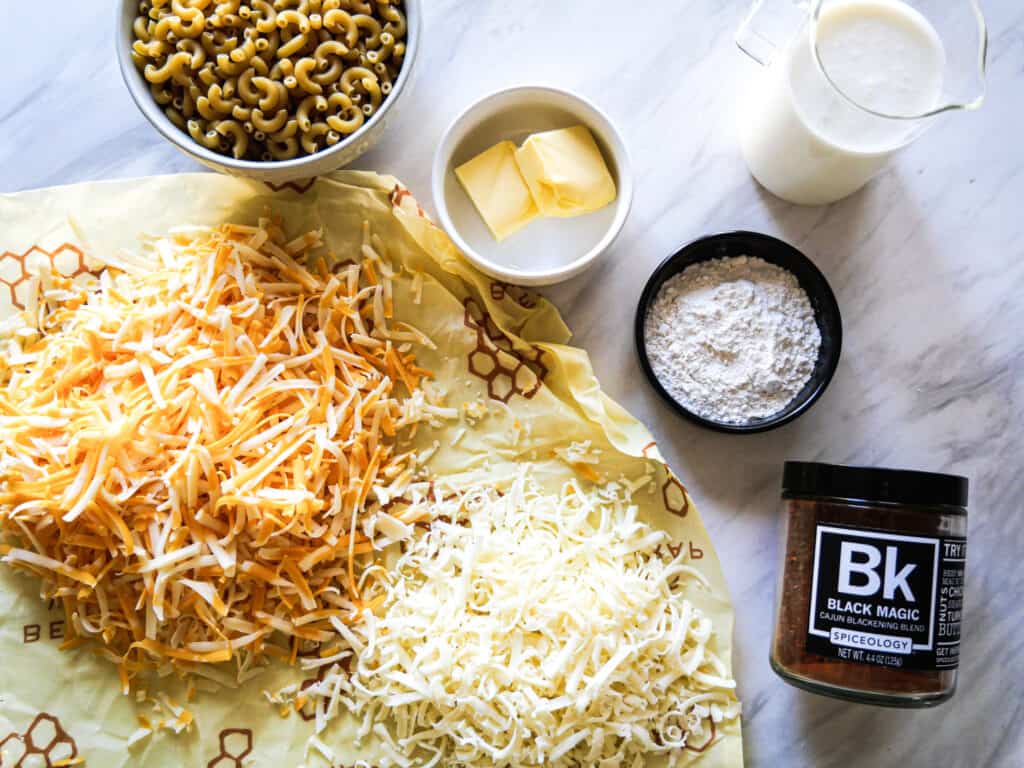
Here’s what you need to make this Cajun Baked Mac n Cheese.
MACARONI NOODLES | If you want to jazz it up, you can switch these out for medium-sized shells or any pasta shape you prefer.
BUTTERMILK | This brings that tangy flavor while making the cheese sauce velvety and creamy.
SHARP CHEDDAR JACK | You can substitute this for Colby jack or Monterey if you prefer. I personally just love the way this dish tastes with the Sharp Cheddar Jack.
MOZZARELLA | This is a must for that added creaminess in the cheese sauce. You can skip this if you want, but this brings that creamy cheese pull when you grab a spoonful to put on your plate.
FLOUR | You need this for the roux. Make sure to do equal parts flour to butter.
BUTTER | Use grass-fed high-quality butter. It makes a difference in the buttery taste, and you won’t regret it!
CAJUN SEASONING | You can use whatever favorite Cajun seasoning you like. I love using Spiceology’s Black Magic – Cajun Blackening Seasoning for this dish.
SALT | Every dish needs a little salt to bring out its wonderful flavors and let them shine!
Preheat your oven to 400F. In a medium-sized pot, cook the macaroni noodles per the box’s directions until al dente.
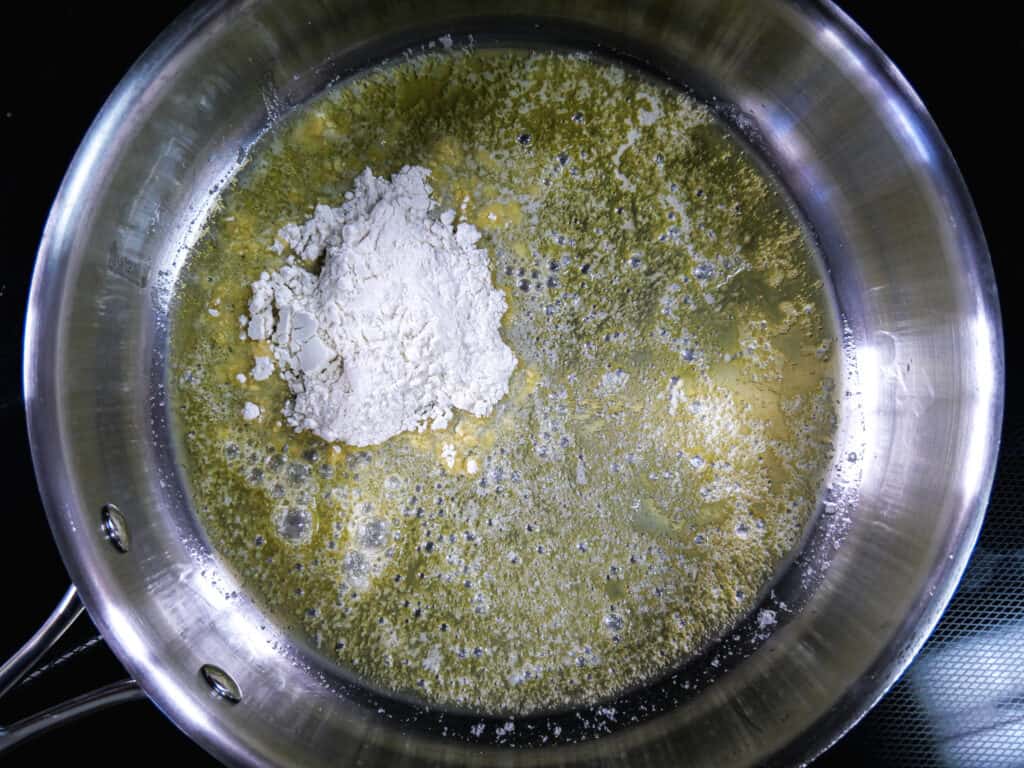
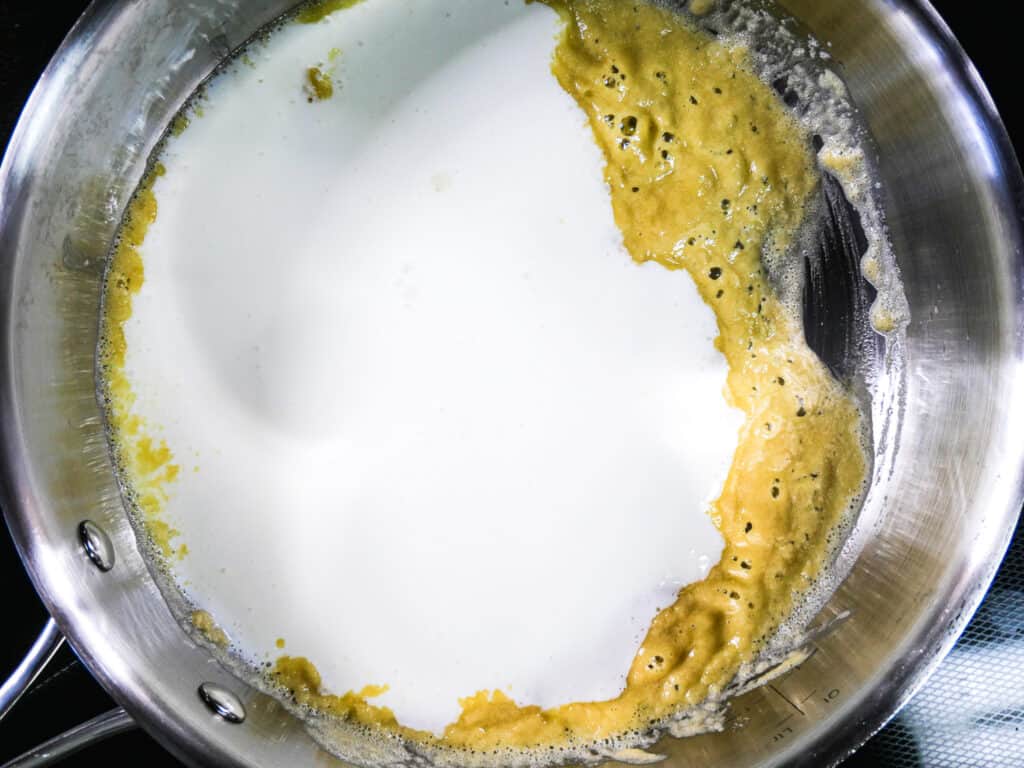
Start making a roux by whisking the butter and flour together for 1-2 minutes in a deep skillet over low-medium heat. Once it thickens, pour in the buttermilk and whisk to combine with the roux.
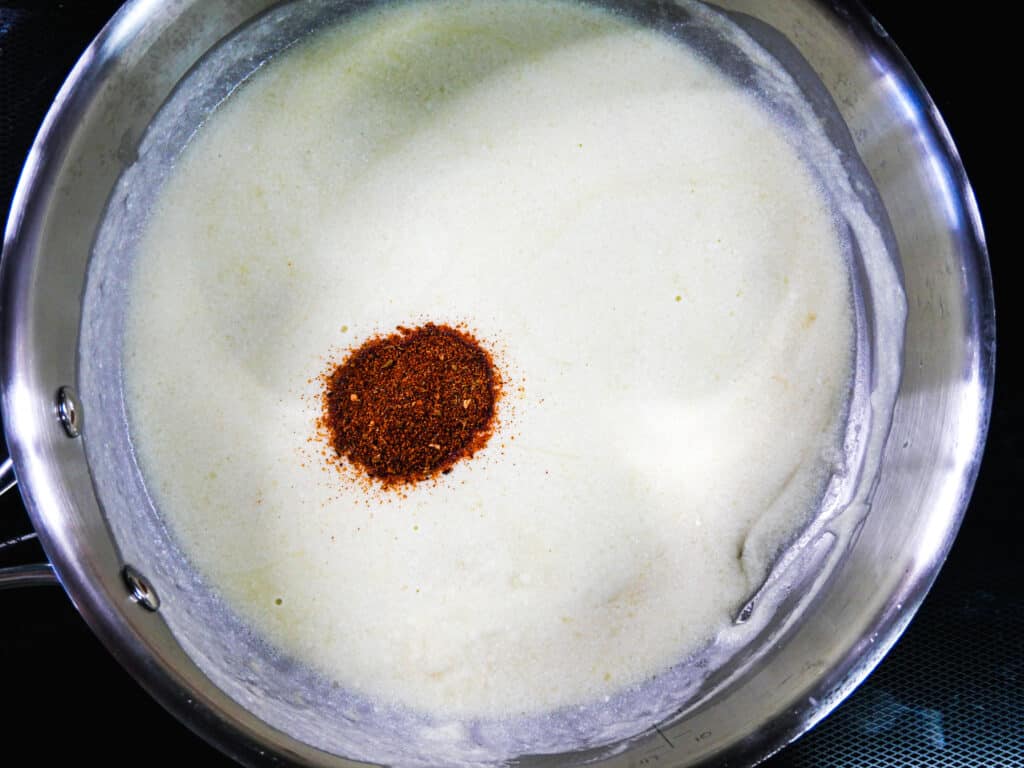
Let it cook and thicken for 2-3 minutes, and then toss in your Cajun seasoning and 1/4 tsp of salt. Give it a good mix to combine everything.
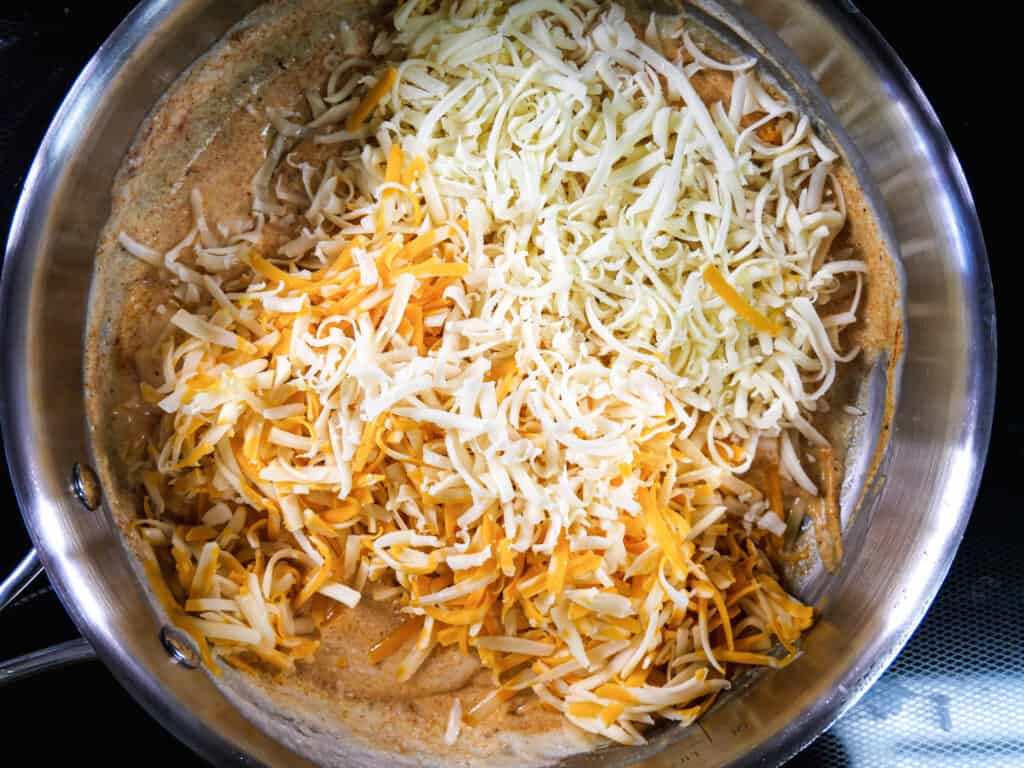
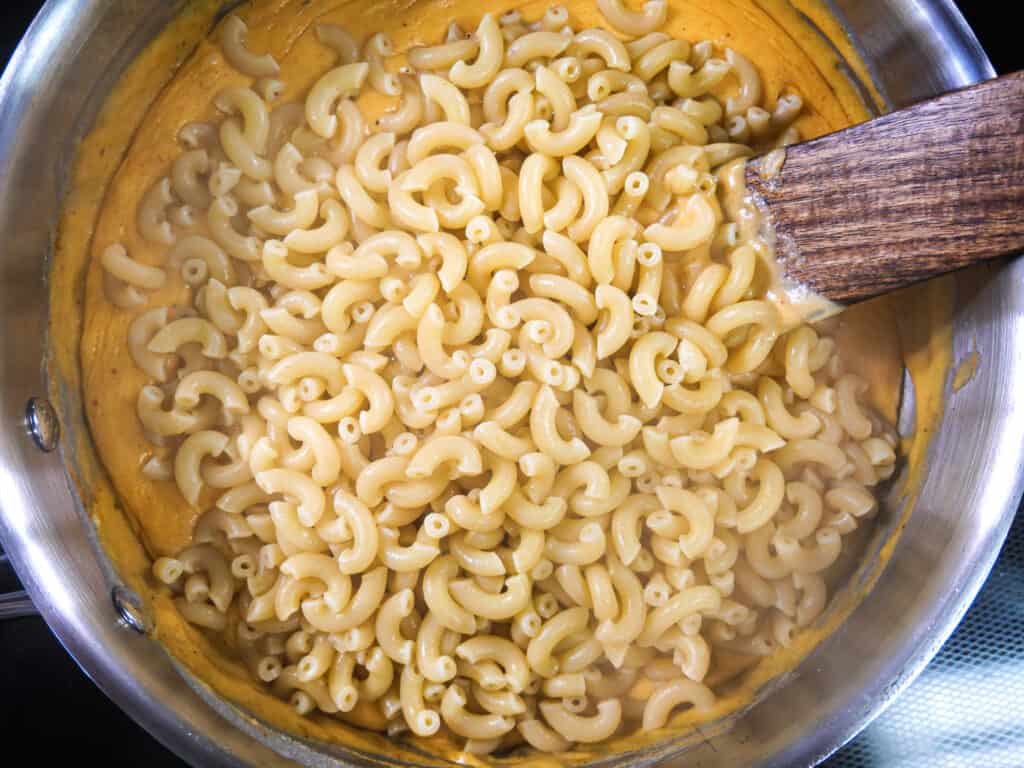
Add half of the sharp cheddar jack cheese and all the mozzarella cheese and mix until combined. Let the cheese melt with the cream sauce for 3-4 minutes over low heat. Once it’s melted, pour in your cooked and drained macaroni noodles and fold them into the cheese sauce to coat. Season with some salt to taste.
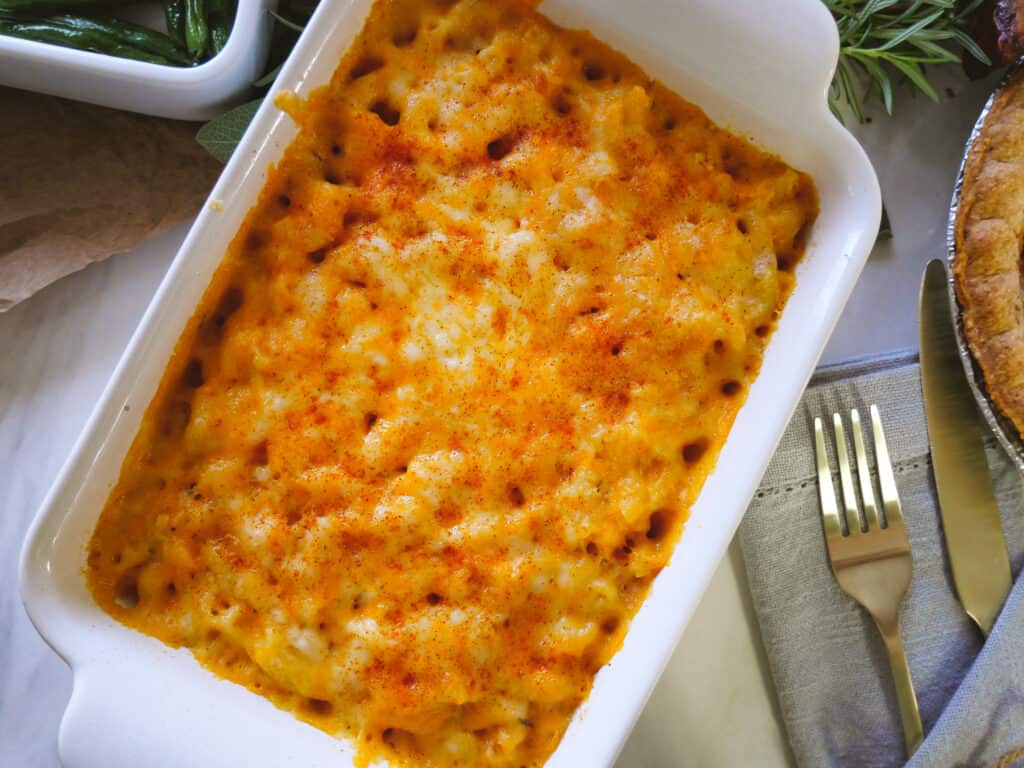
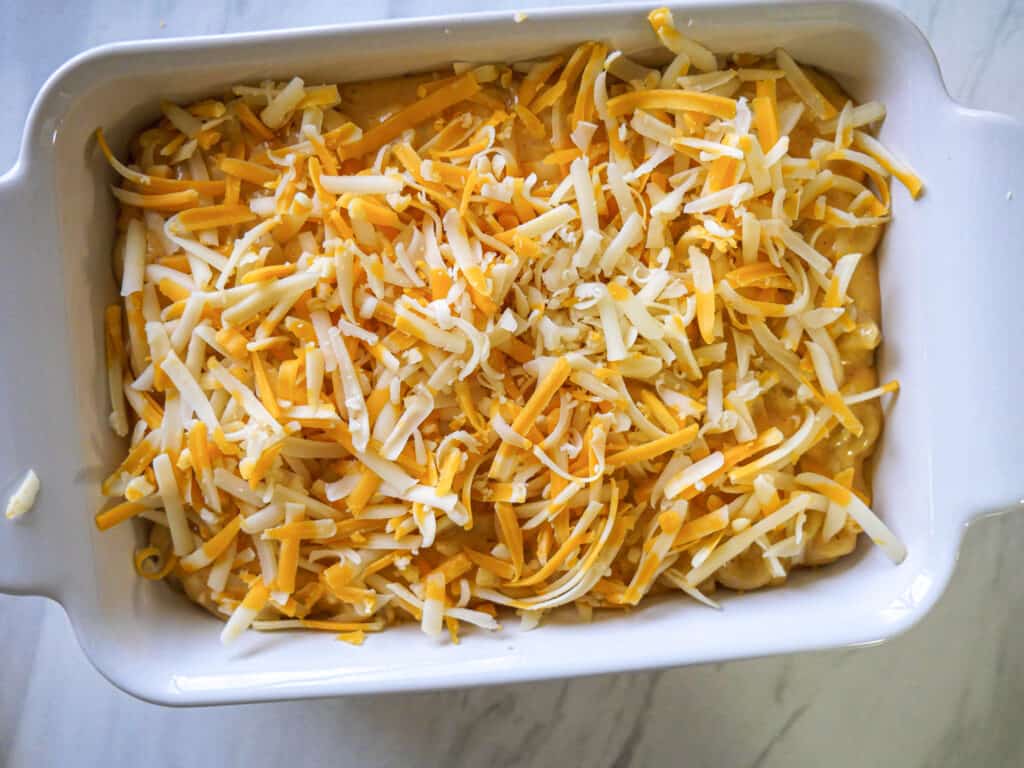
Get a casserole dish, pour in the macaroni, cover with the remaining sharp cheddar jack cheese, and sprinkle a pinch of Cajun seasoning on top for extra flavor. Put it in the oven and cook for 15-20 minutes or until the cheese on top is bubbly and golden brown.
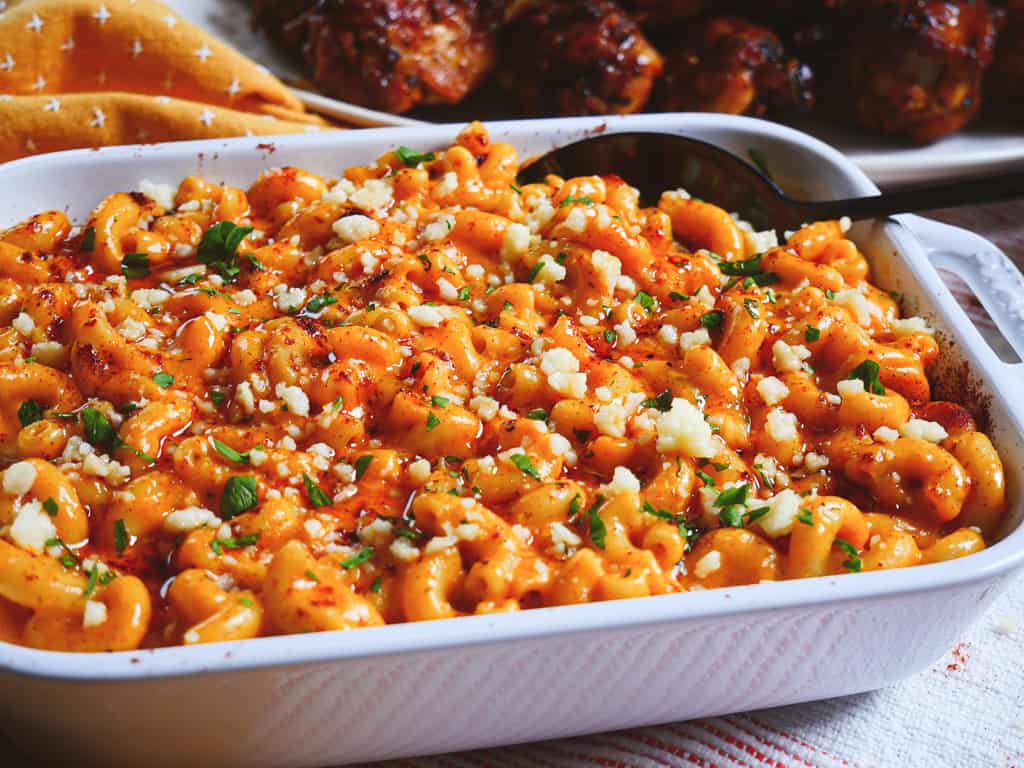
If you loved this Cajun Baked Mac n Cheese, then you will definitely love this Smoky Ancho Chile Mac n Cheese.
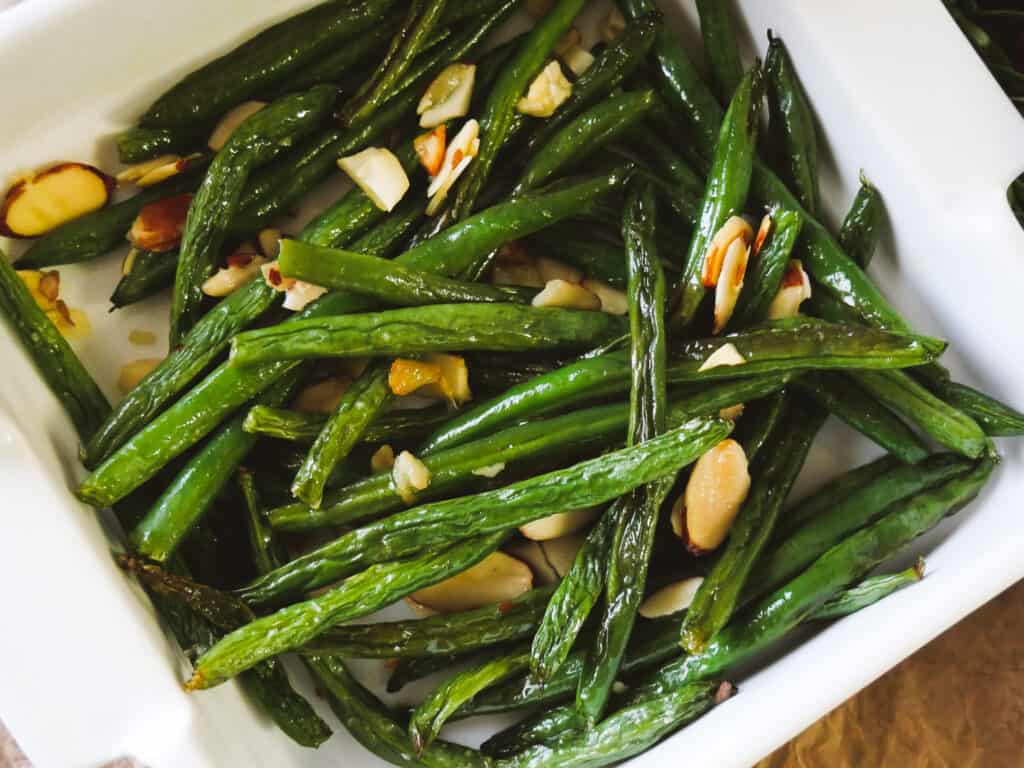
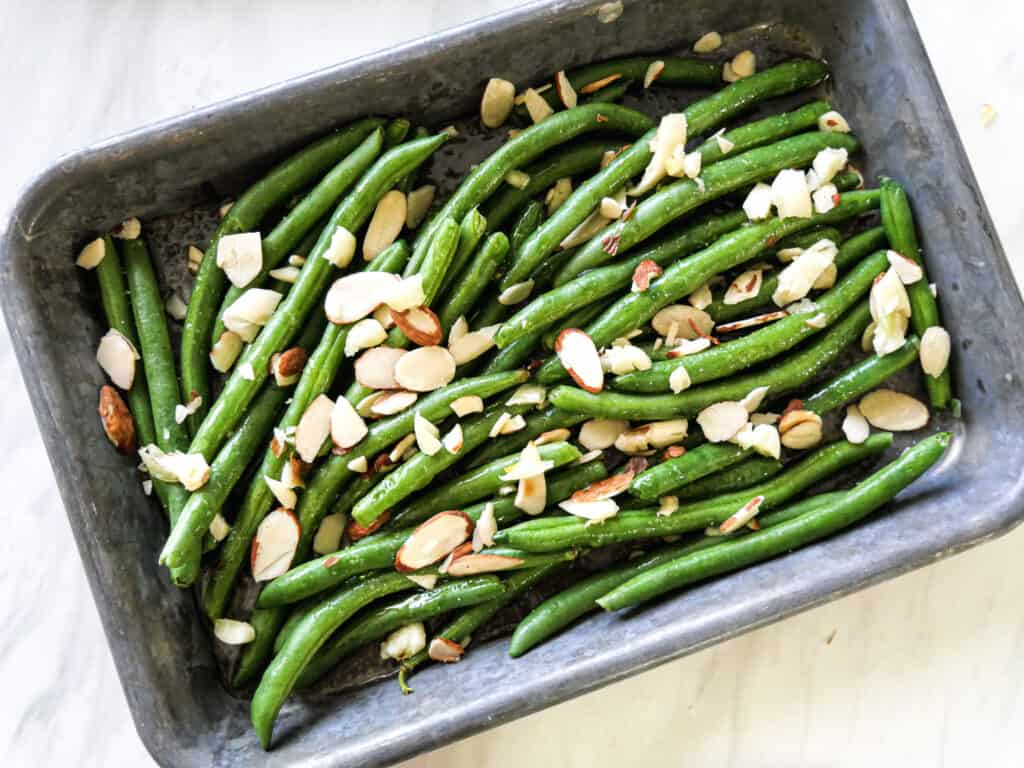
All you’ll need for this simple yet scrumptious Oven-Roasted Green Beans with Almonds dish are four easily found ingredients. Just add a pinch of salt, and it will be ready to cook in no time at all! While cooking your main course, pop these in the oven alongside or afterward; either way, they taste just as great!
PLUS, these Oven-Roasted Green Beans with Almonds are vegetarian and vegan-friendly! What’s not to love about this side dish?
Ensure that your green beans are fresh and trimmed. You want that fresh and tender yet crisp taste that makes you feel better about eating the whole plate!
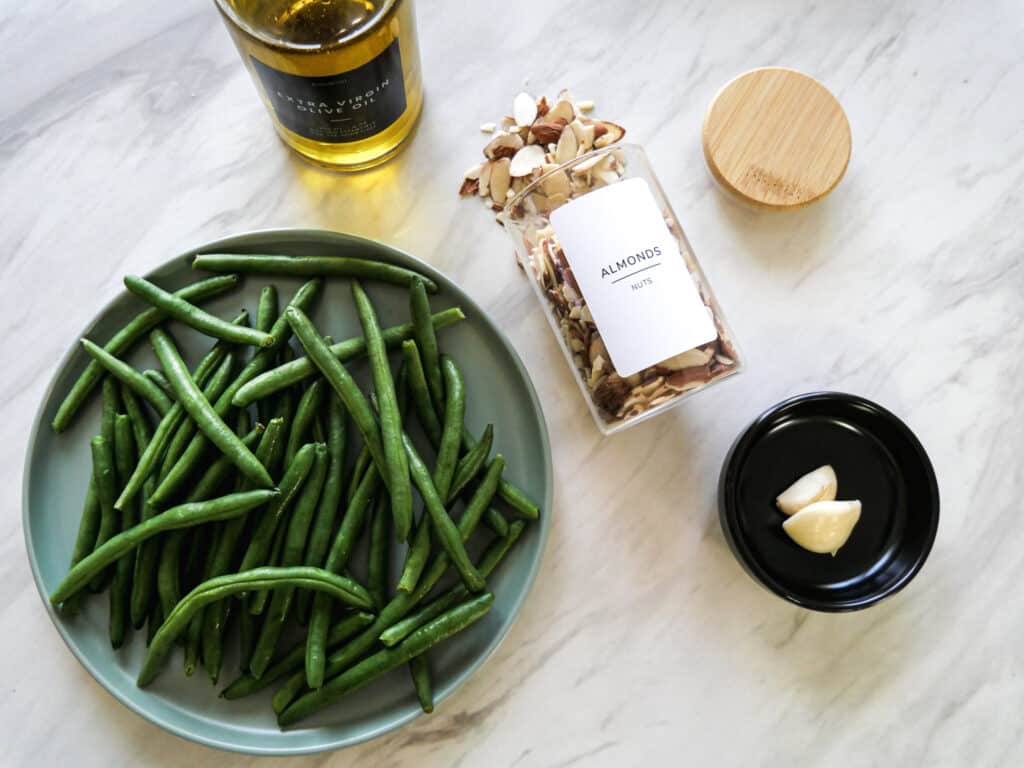
GREEN BEANS | Fresh and In-Season from May thru October. No frozen green beans here, I’m sorry, but it just won’t work for this recipe. You want that fresh, crisp, juicy green bean taste!
SLICED ALMONDS | Just go buy the sliced almonds. Why add extra work to a simple and easy recipe? If you have whole almonds on hand, slice them yourself!
OLIVE OIL | You need to use a good quality extra virgin olive oil for that bold flavor that elevates the flavors of these fresh juicy green beans. You can substitute with Almond oil or Walnut oil if you prefer.
GARLIC CLOVES | You can use minced garlic, but I prefer smashed whole garlic cloves. It has a more mellow garlic taste that isn’t overpowering like minced garlic.
*Not sure what Smashed Garlic is? Take the flat side of the knife blade and gently smash it down on the garlic until it crushes the clove, releasing that garlicky goodness!
Preheat your oven to 400F. Grab a sheet pan and add your trimmed green beans. Drizzle 1-2 tbsp of olive oil and toss to coat. Smash your garlic and roughly dice it up before adding it to your pan. Sprinkle the sliced almonds on top and a pinch of salt. Add it to your preheated oven and let it cook for 15-20 minutes. Check to ensure they are tender yet crisp; if not, let them cook another 2-3 minutes.
If you are cooking a dish at 375F, just let it cook an extra 5-10 minutes.
Pair these Oven Roasted Green Beans with Almonds with some tender Ginger Garlic Salmon filets.
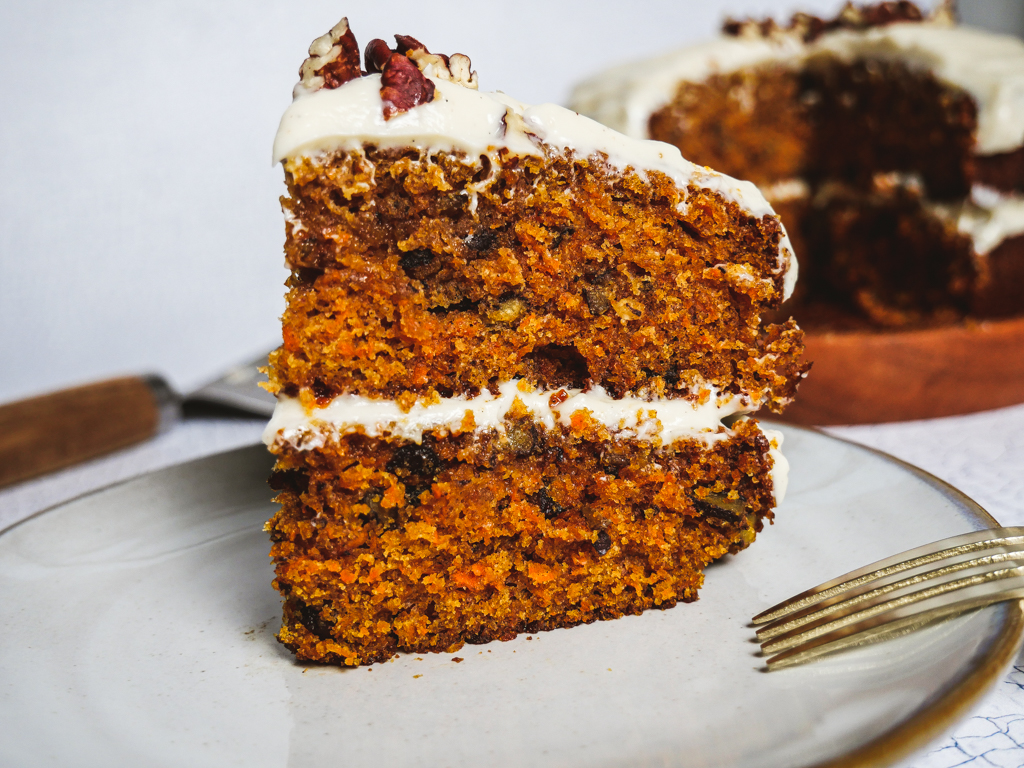
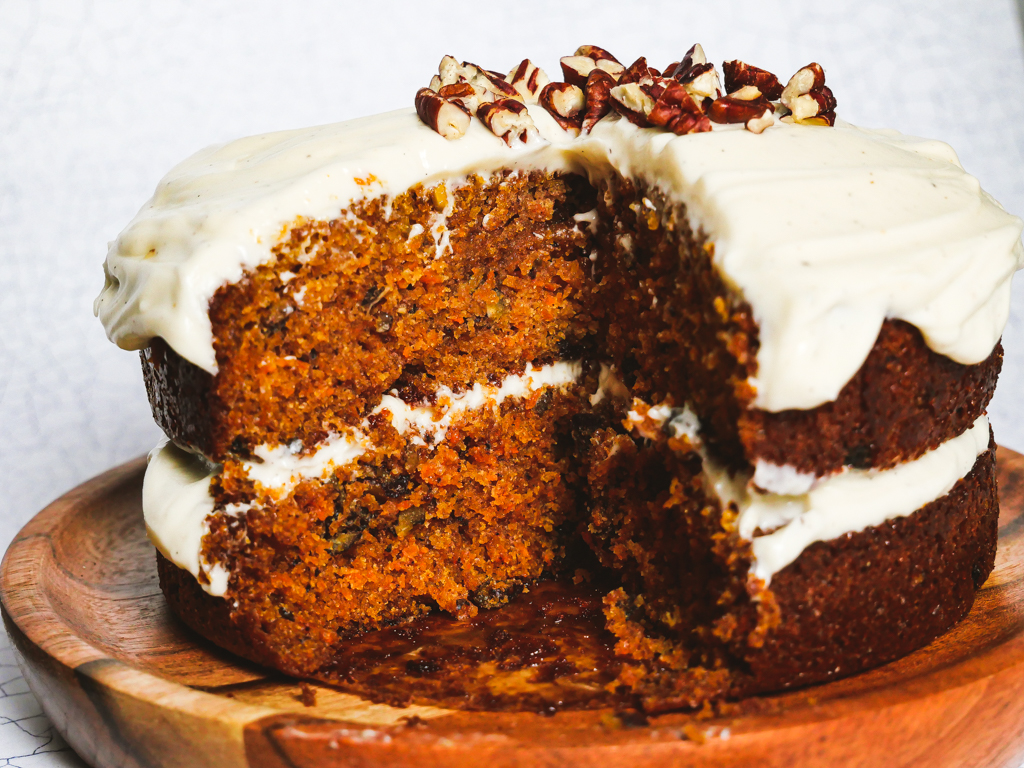
A rich, decadent, moist Carrot Cake with Vanilla Cream Frosting with a hint of fall spices and flavors that enliven your mouth every time you take a bite. You’ll want to devour the entire cake in one sitting.
I’ve been perfecting this divine fall cake for years now and possibly gaining a few pounds in the process. This cake has always been a rave at gatherings, and even my picky eater boys get exhilarated when I make this delectable cake, and they smell the heavenly aromas throughout our home.
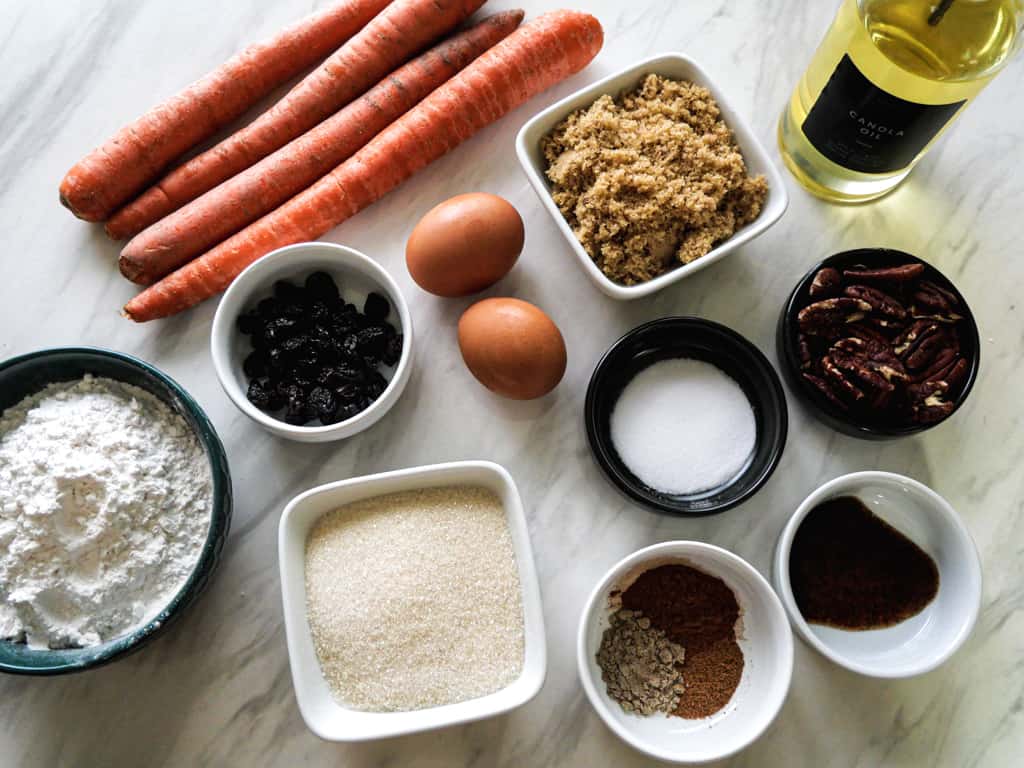
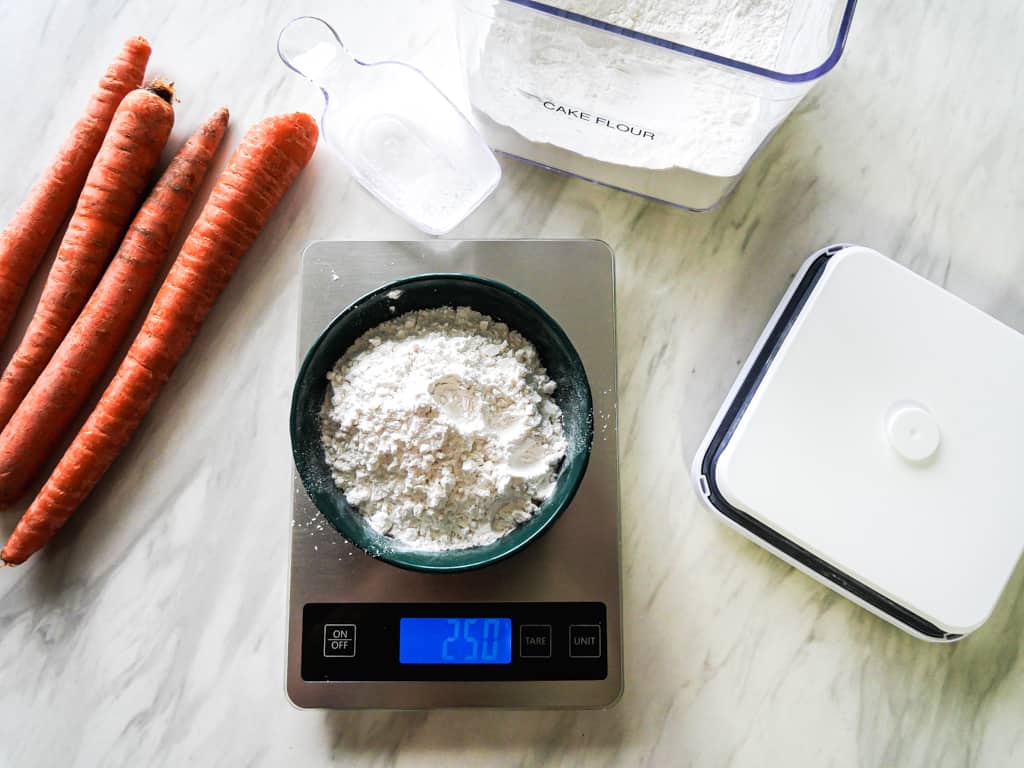
Gather these ingredients and a food scale. I measure out ALL my baking ingredients to ensure each ingredient in the recipe is consistent every time I bake it. It’s not as forgiving as cooking is when you do too little or too much of an ingredient.
No room for errors here with this recipe! It’s practically Fool-Proof!
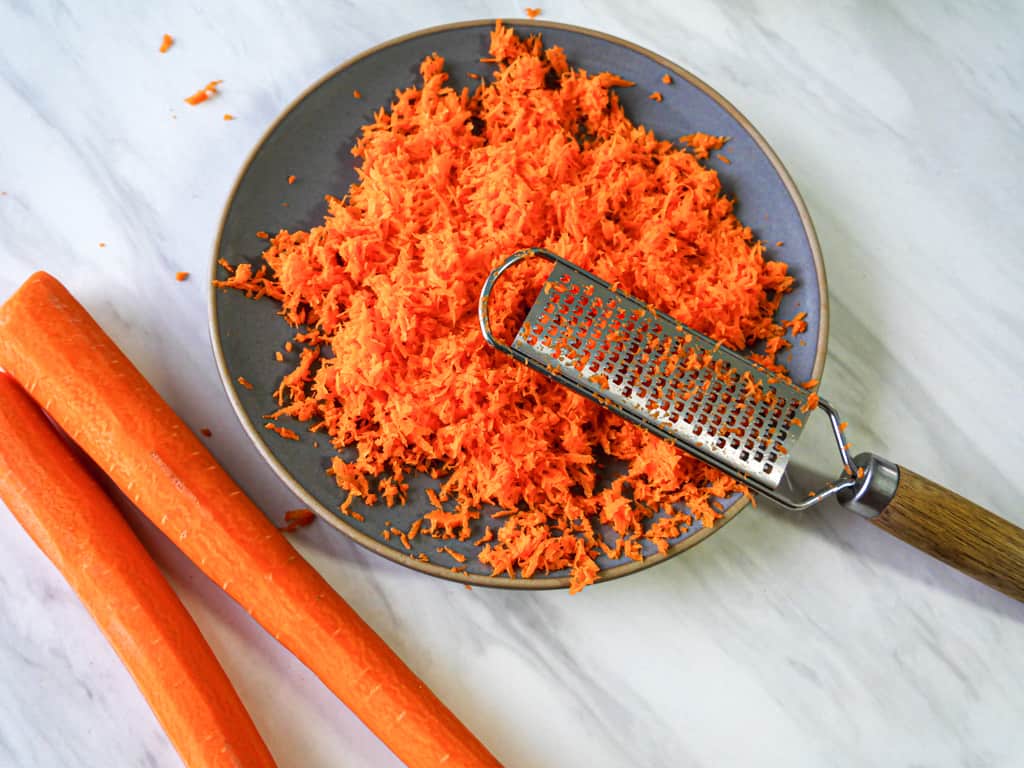
3-4 Carrots (150 g finely grated)
2 Large Eggs
Dark Brown Sugar (100 g)
Cake Flour (125 g)
Cane or Granulated Sugar (100 g)
Ground Nutmeg (1/4 tsp)
Ground Cinnamon (1 tsp)
Ground Cardamom (1/2 tsp)
Vanilla Bean Paste or Vanilla Extract (1/2 tsp)
Raisins (35 g)
Canola or Vegetable Oil (150 ml or 2/3 Cup)
Whole Pecans (50 g chopped)
Salt (1/4 tsp)
Baking Soda (1 tsp)
(Frosting Ingredients below)
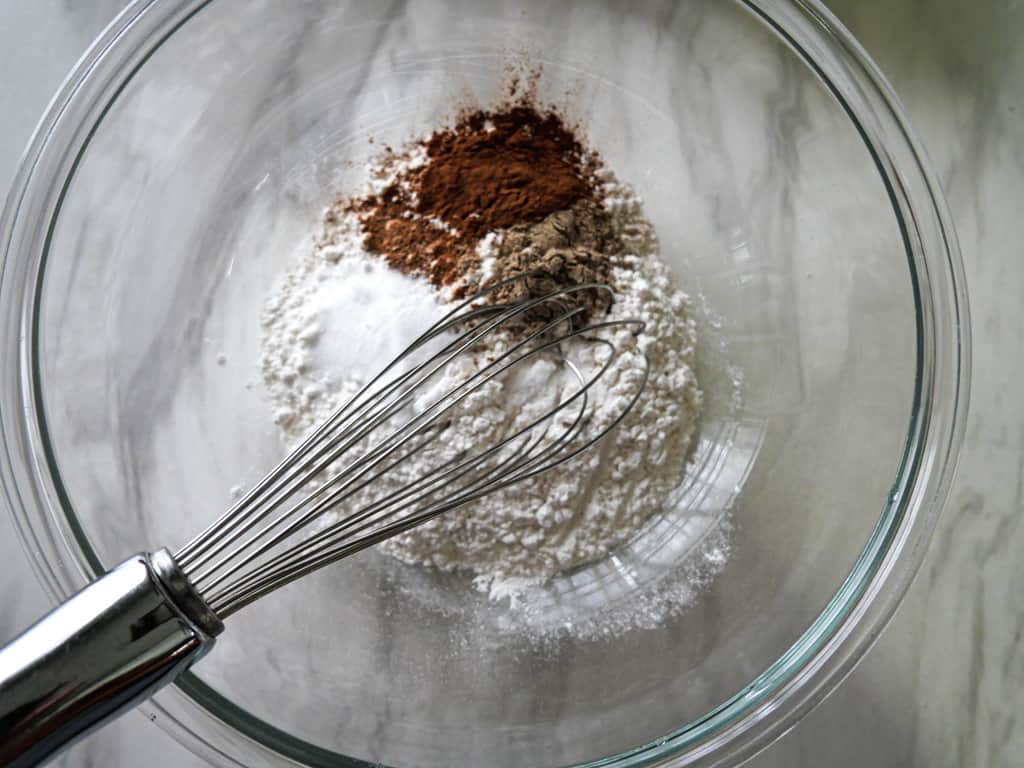
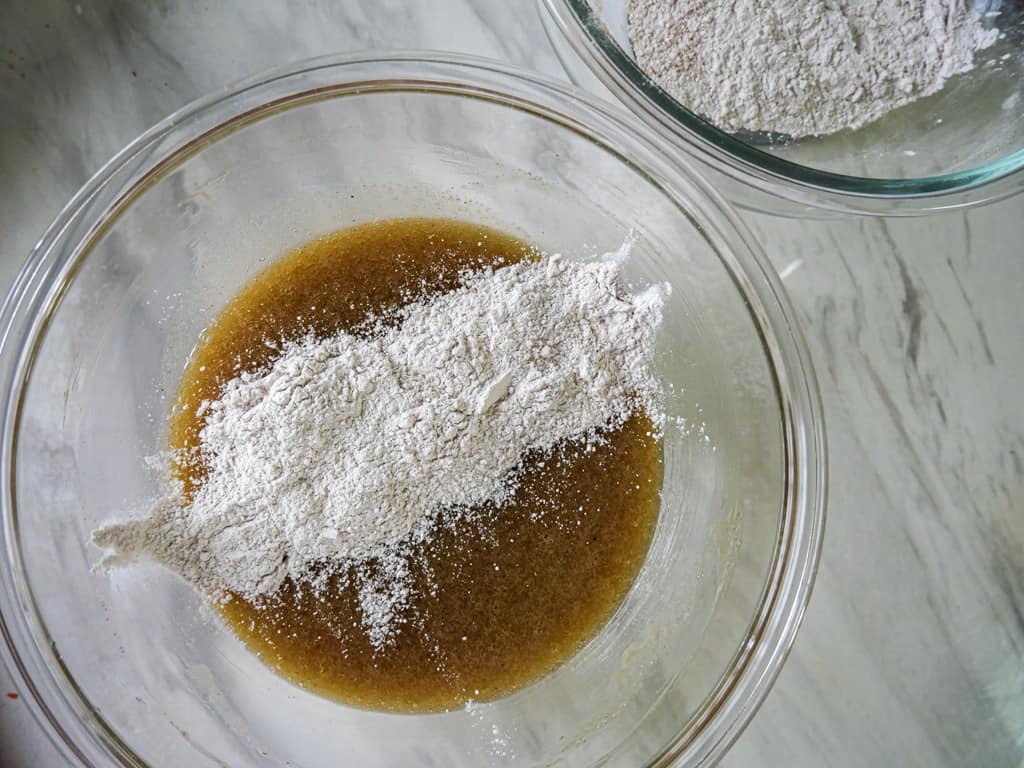
Whisk your dry ingredients together in a large mixing bowl. The dry mix consists of cake flour, baking soda, cinnamon, cardamom, nutmeg, and salt.
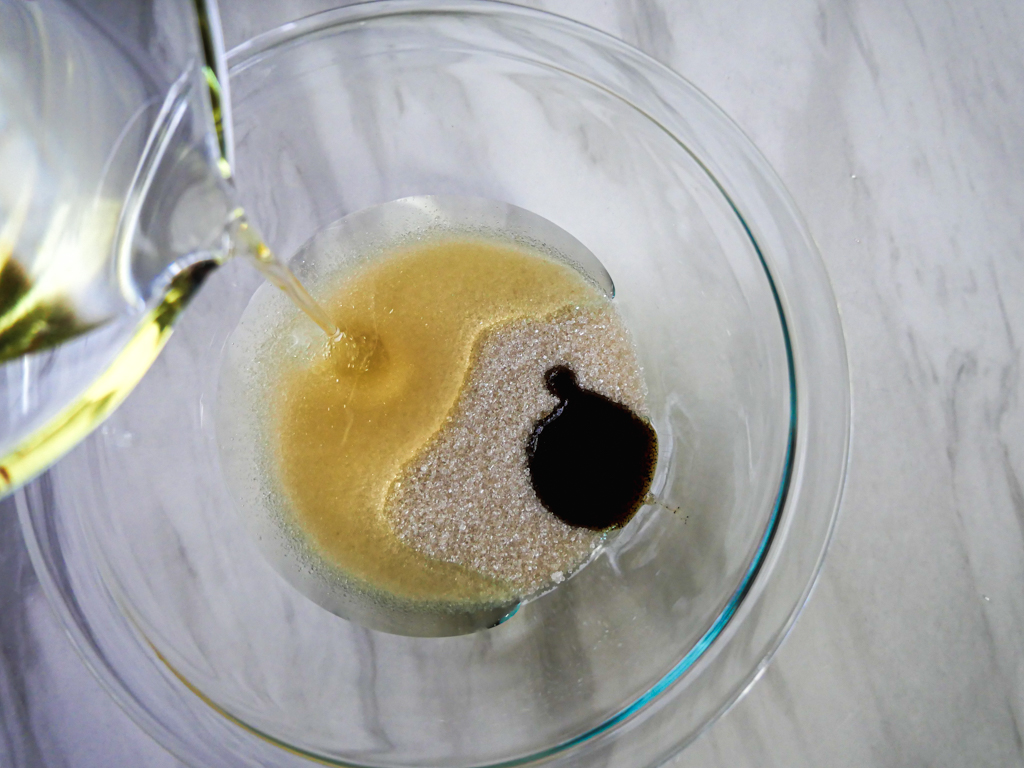
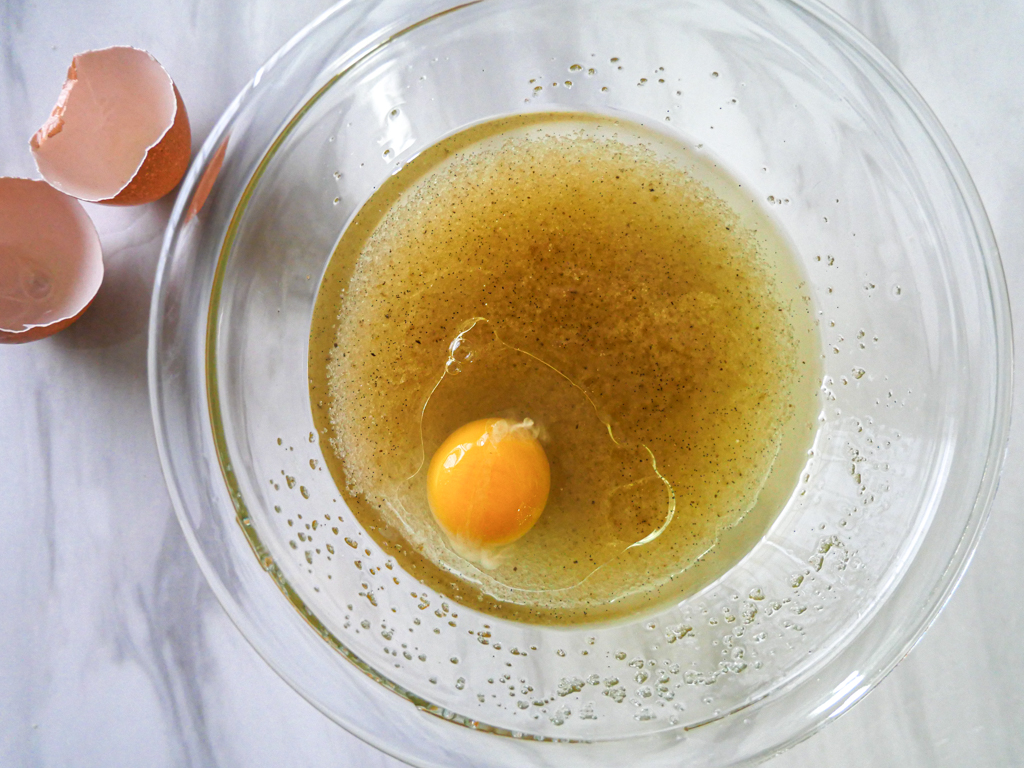
Mix the cane sugar, dark brown sugar, vanilla bean paste, and oil in a separate bowl. Add one egg at a time, whisking until well combined each time.
Using a fine grater, grate the carrots until you have 150 g. If you find any large pieces, discard them. You don’t want to take that first bite of this fluffy, moist cake only to bite down on a thick carrot chunk.
Funny fact, my husband is allergic to carrots. No, Seriously! I didn’t even know it was a thing until I met him. But he can tolerate eating them if they are fully cooked, so he loves it when I make this cake, and he gets to enjoy their earthy sweet flavors outside of just as a side dish.
Add half the flour mix to your wet ingredients and gently mix until slightly combined. Pour the remaining flour and gently fold the mixture until just combined.
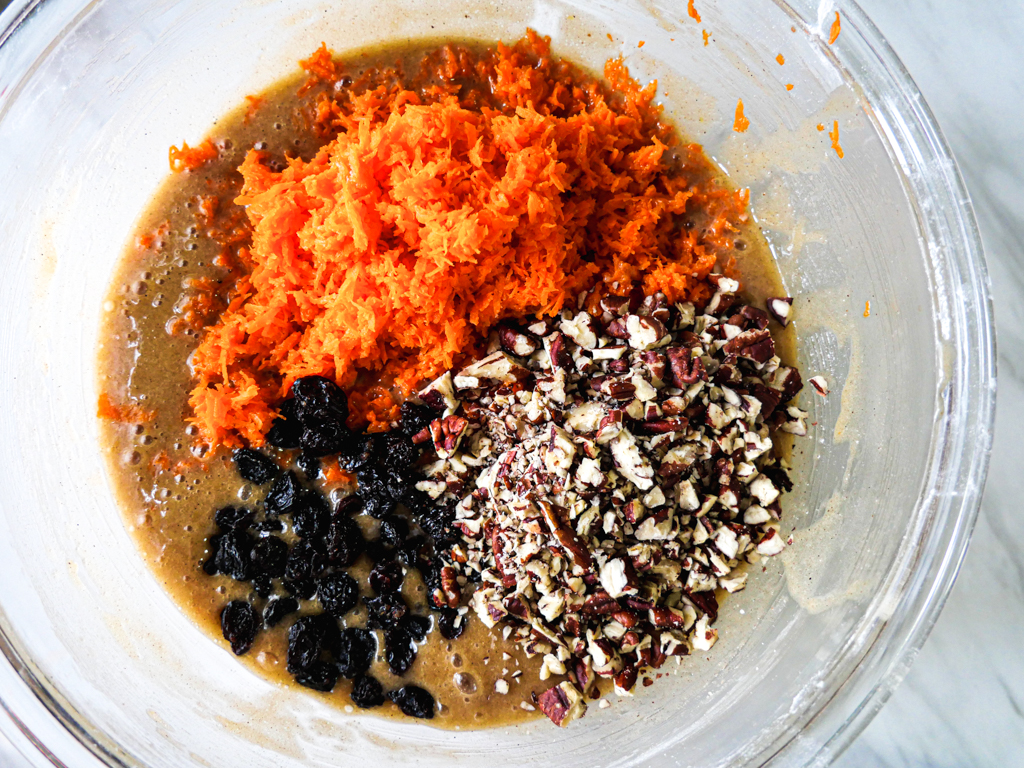
Toss the shredded carrots, chopped pecans, and raisins, and give it a few more folds to mix it all. The key is not to overmix, so it keeps it light and fluffy once baked.
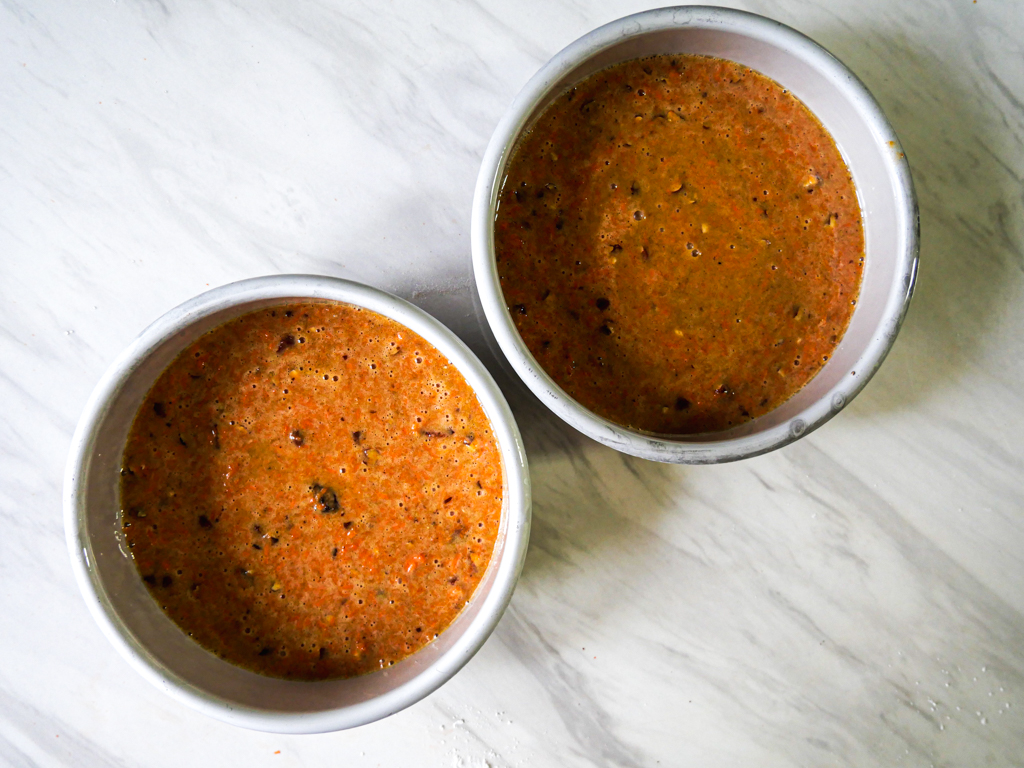
Use two 6-inch cake pans sprayed with nonstick spray lined with a parchment cake liner (or cut a piece of parchment to the shape of the bottom of the pan). Fill the pans 1/2 to 2/3 full, depending on how deep your cake pans are. I used a 2-inch deep cake pan for these.
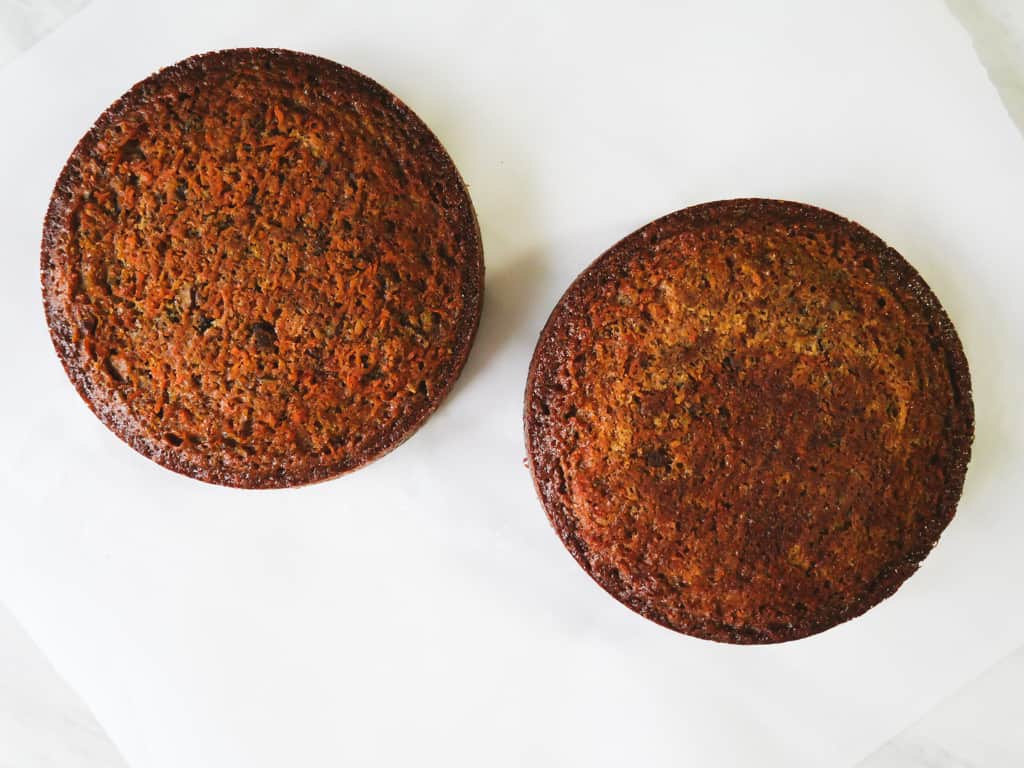
Bake at 350F for 20-25 minutes until lightly browned and a toothpick inserted in the center comes out clean.
Let the baked cakes cool on a wire rack while you work on the frosting. If you are in a rush, you can stick them in the fridge to speed up the process.
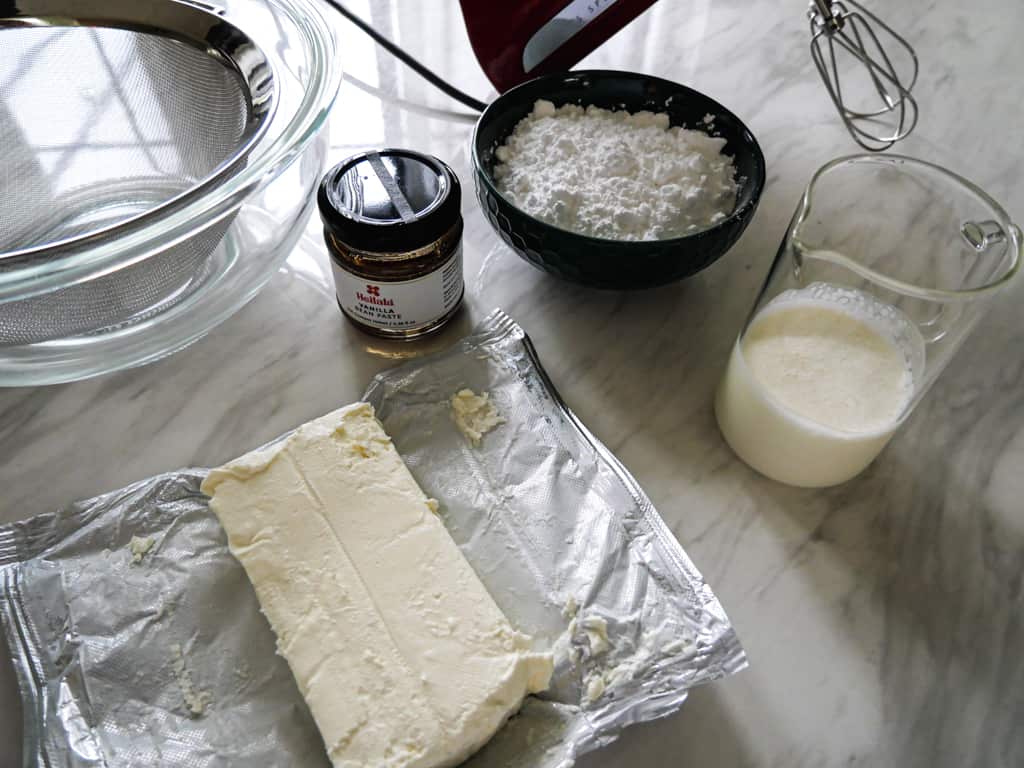
For the Vanilla Cream Frosting, grab the ingredients below, and let’s begin.
Cream Cheese (8 oz or 225 g at room temp)
Powdered Sugar (150 g)
Heavy Whipping Cream (1-2 tbsp)
Vanilla Bean Paste (1 tsp)
Pecans (2 tbsp coarsely chopped)
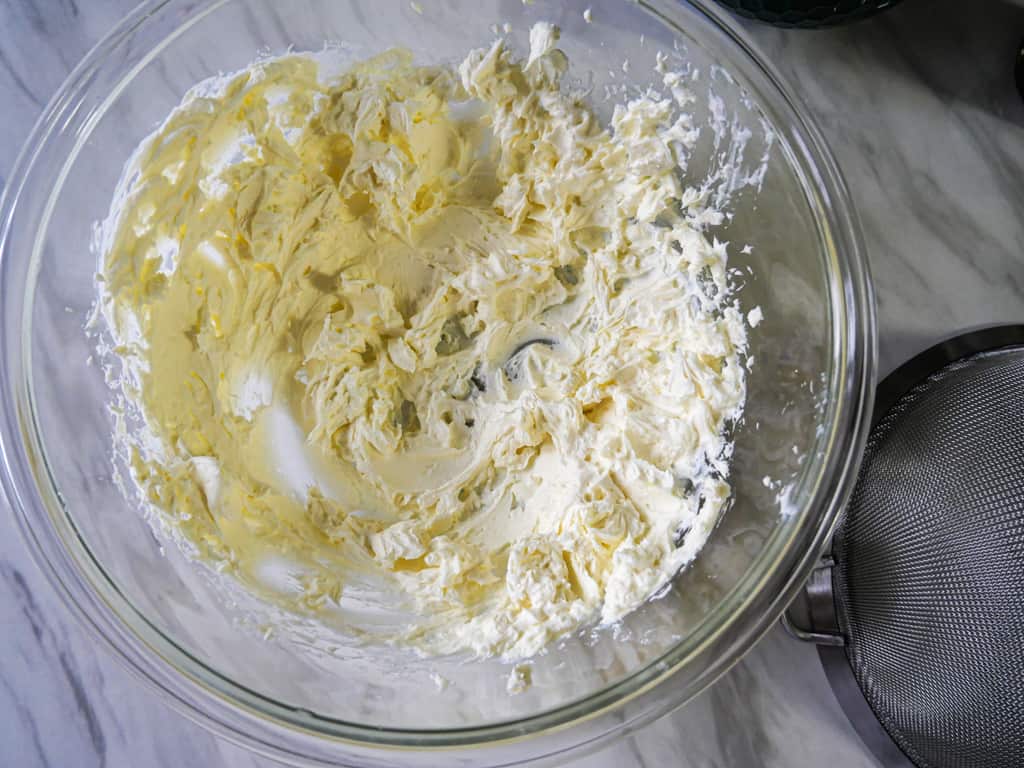
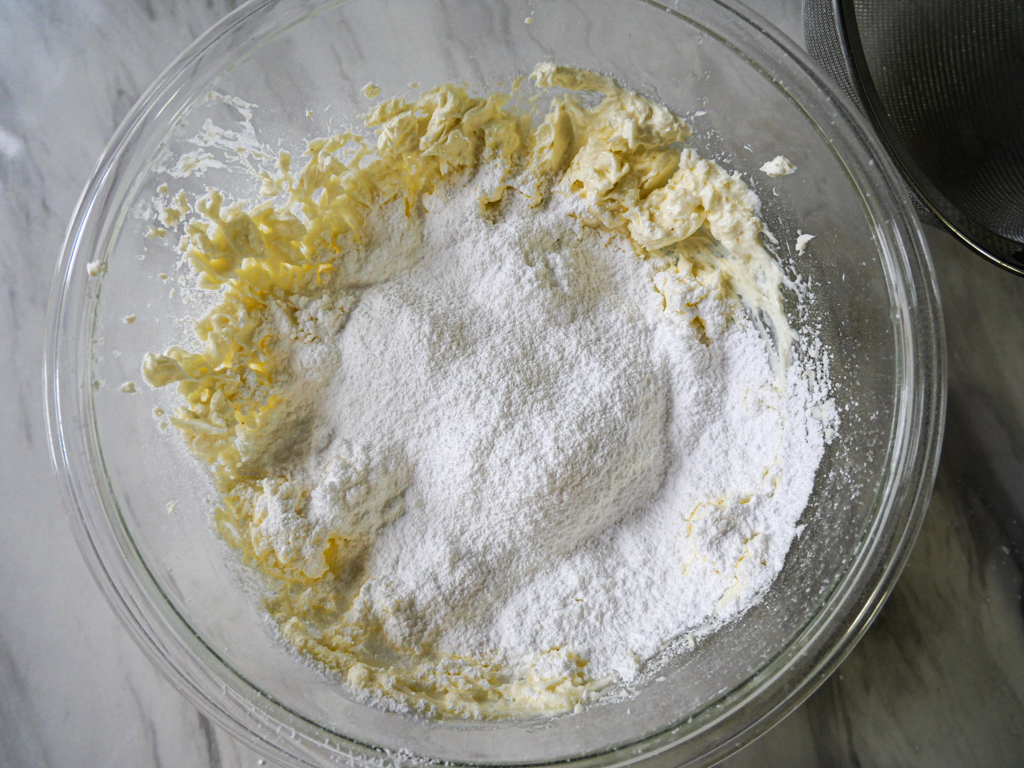
Cream the softened cream cheese on low for 2-3 minutes using a hand mixer. Using a sieve or fine mesh strainer, sift the powdered sugar as you add it to the bowl of cream cheese. Using a sieve helps break up any clumps of powdered sugar when you mix it, but you can use a hand whisk to separate the clumps in a small bowl before adding it to your cream cheese if you don’t have a sieve to use.
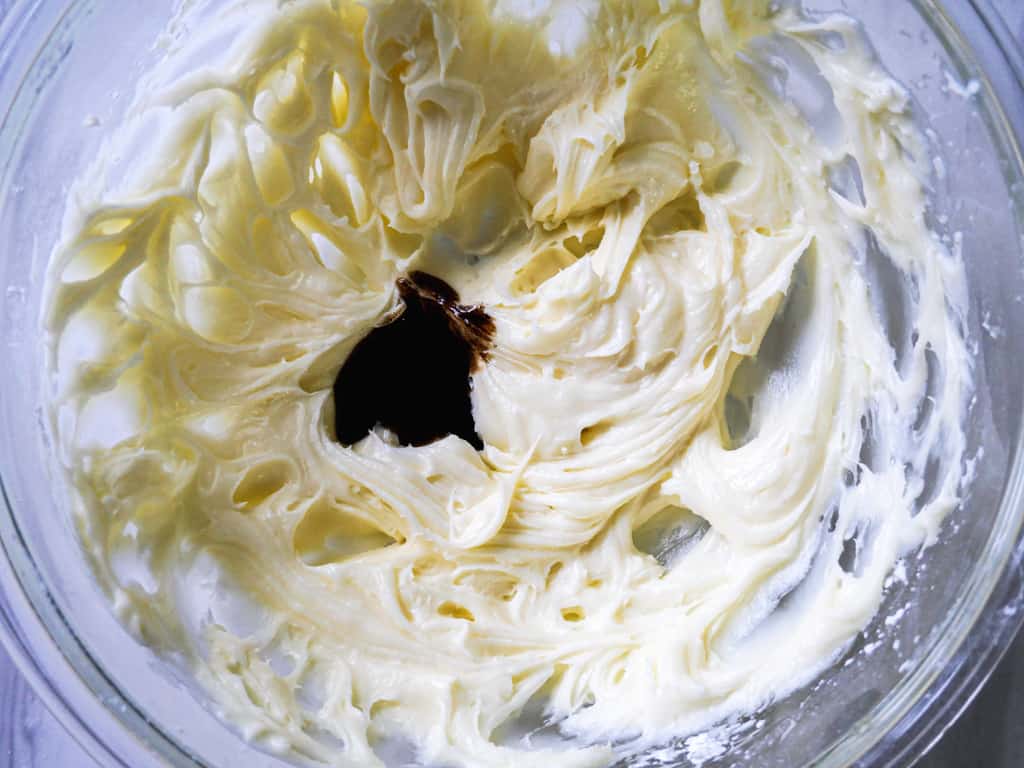
Add the vanilla bean paste and whisk for 3-4 minutes on medium speed. Next, add 1 tbsp of heavy whipping cream and whisk for 2-3 minutes, then check the consistency. If it’s still too thick, add another tbsp to slightly thin the frosting out.
Spread the frosting over your cooled cake layers and then stack them on top of one another. Next, sprinkle the coarsely chopped pecans on top. Then grab a fork and dig into that first slice of autumn flavor heaven.
This post may contain affiliate links for products I use in my kitchen. Please read my disclosure policy.
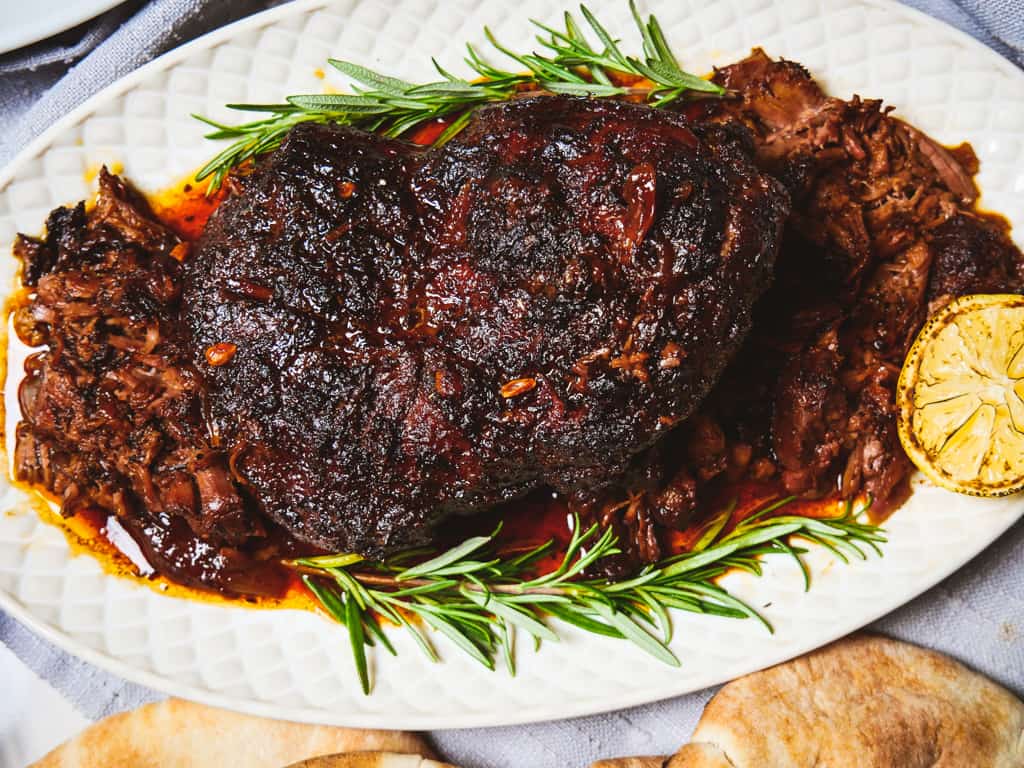
A tender and juicy Slow Roasted Greek Leg of Lamb is the perfect easy Sunday dinner roast. Slowly braised for 3-4 hours in a Dutch oven filled with a lemony Mediterranean herb broth. Imagine a lamb roast so tender that it falls apart when picked up and so juicy you will need some pita bread to mop up all the sauce left on your plate. Only one dish is needed for this roast which makes for easier cleanup after dinner.
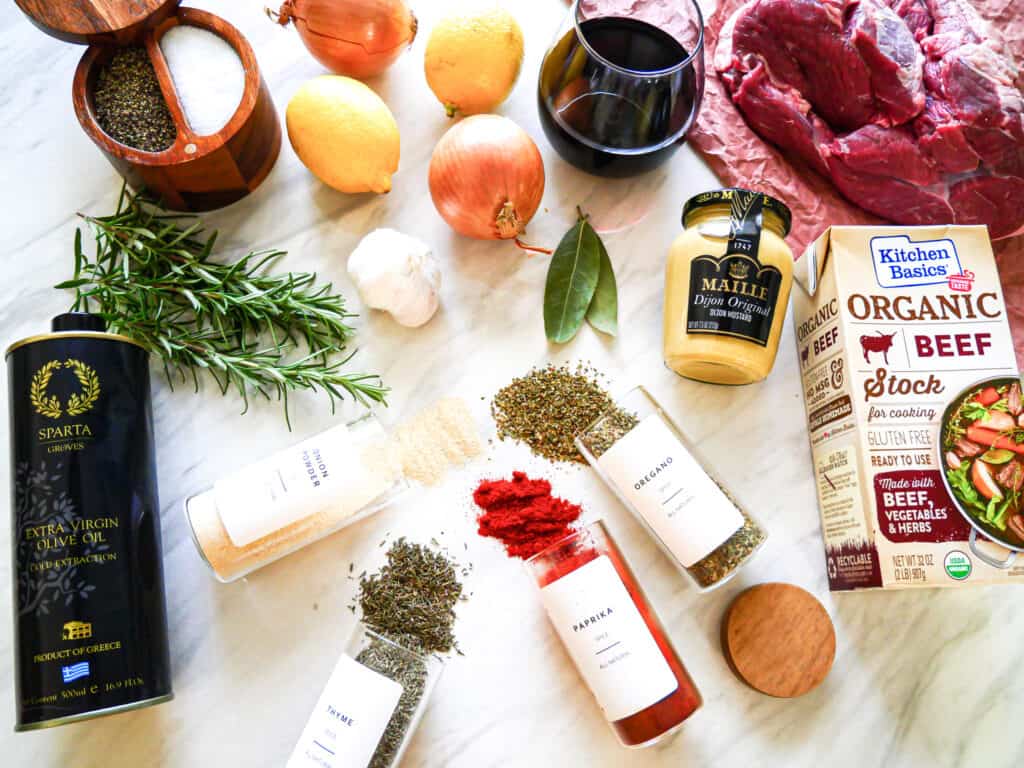
Here’s what you will need to make this wonderful Slow Roasted Greek Leg of Lamb.
2.5-3 lb Boneless Lamb Leg Roast
2 Yellow Onions
2 Lemons
Dijon Mustard
2 cups of Beef Stock
2 sprigs of Fresh Rosemary
Dried Oregano
Dried Thyme
Paprika Powder
Onion Powder
2 Bay Leaves
8 Cloves of Garlic
1 cup of good quality dry Red Wine
Salt + Pepper
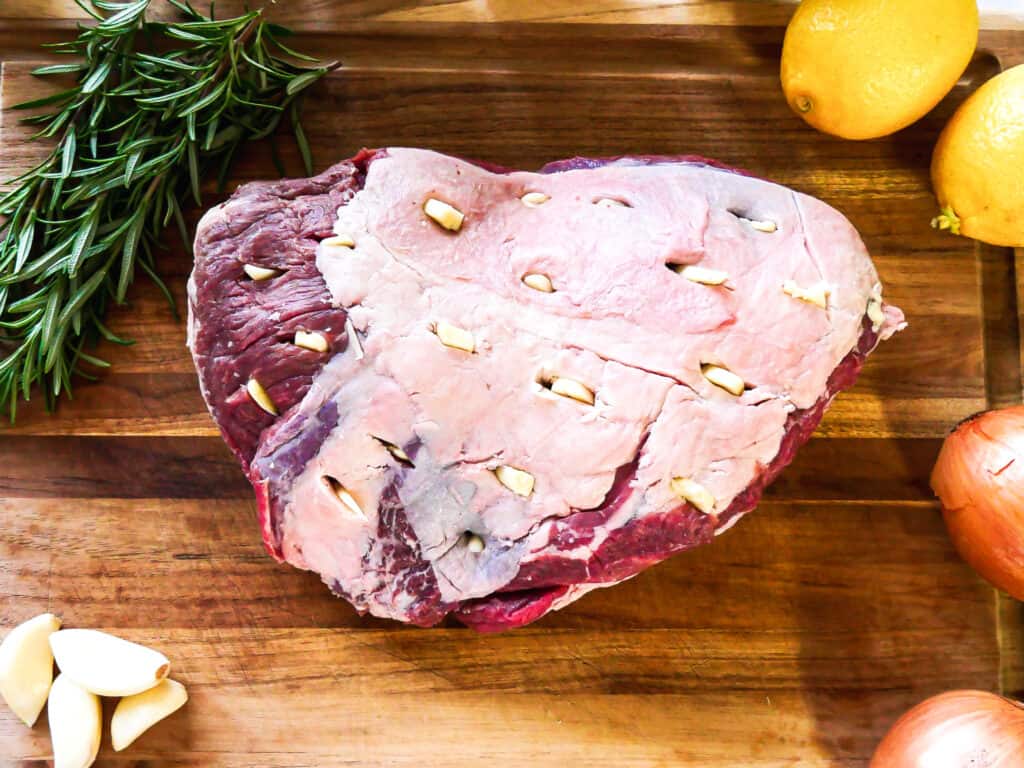
Start by cutting four cloves of garlic into slivers. Each clove of garlic should get you about 3-4 slivers. Next, make small incisions with the tip of a knife in the lamb leg that is large enough for a sliver of garlic to fit. Do as many cuts as you have slivers of garlic. This will infuse that rich roasted garlic flavor deep into the meat as it’s braised.
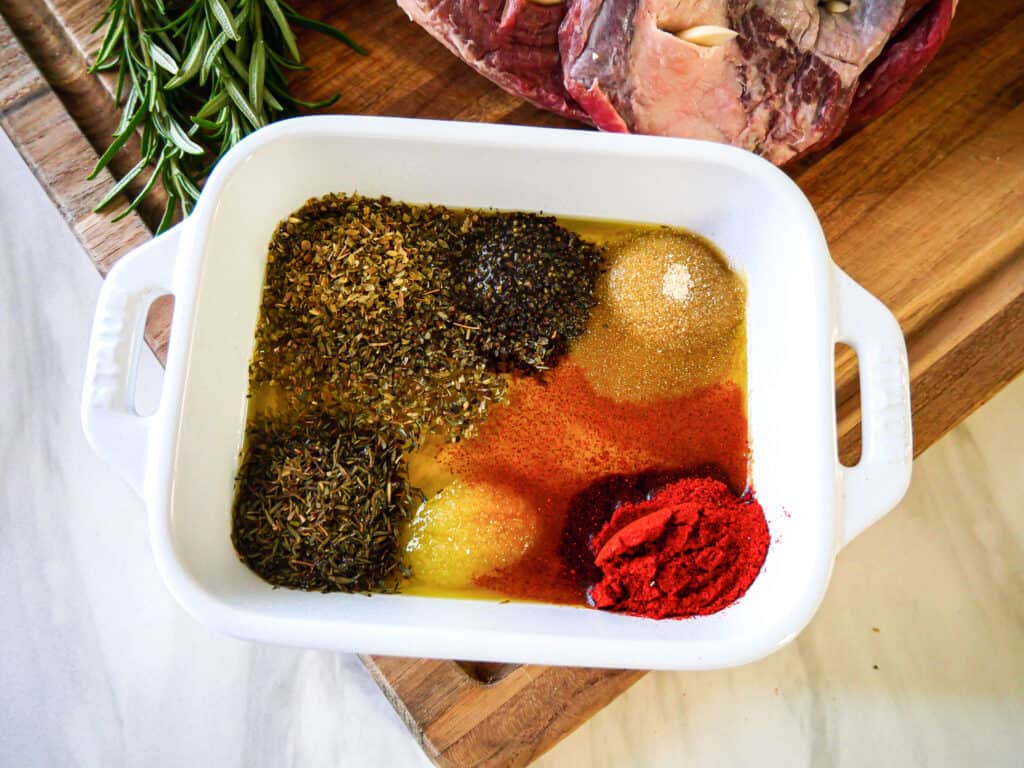
Grab a small bowl or added directly to a gallon-sized Ziploc bag, and add 2 tbsp Olive oil, 1 tbsp Dijon mustard, 2 tsp paprika, 1-1/2 tsp onion powder, 1-1/2 tsp dried thyme, 2 tsp oregano, and 1 tsp each of salt + pepper. Mix to create your marinade for the lamb.
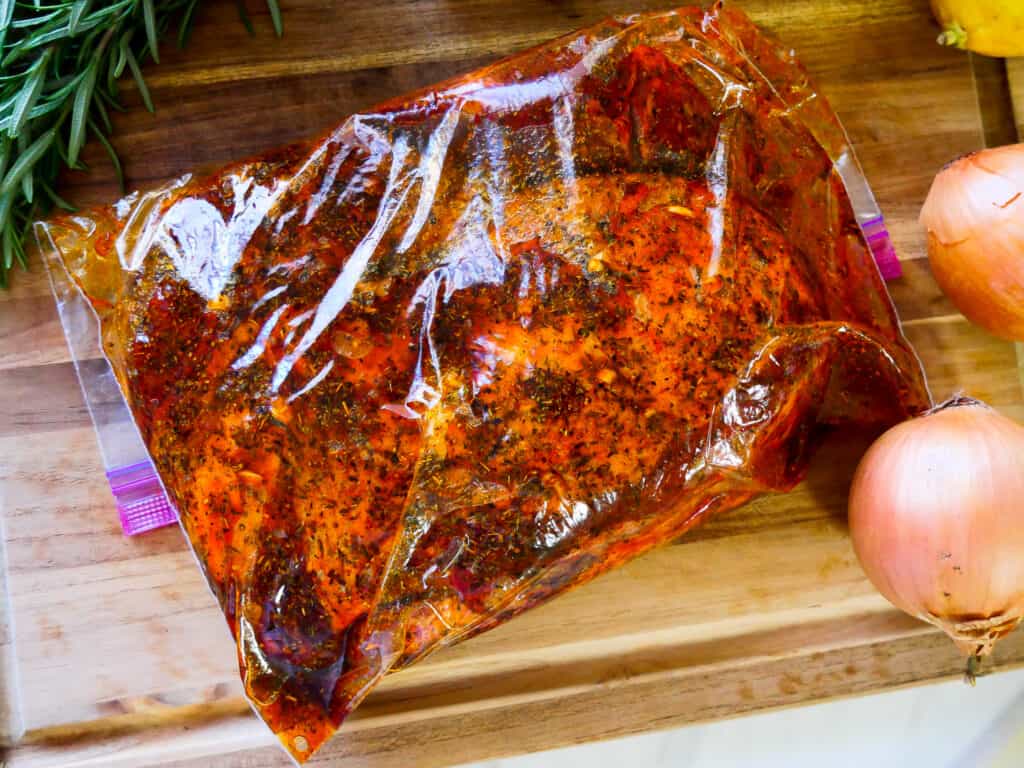
Slather that herb mix all over the lamb massaging it into the meat and place in a large bowl covered in plastic food wrap or gallon-sized Ziploc bag. Marinate in the fridge for at least 3 hours, but it’s even better if you let it marinate overnight.
Honestly, it’s easiest if you use a Ziploc bag. Pour the mix over the lamb, and massage it into the meat through the bag. This way, you won’t have messy hands, which is always a plus, right?
You want to fully infuse those Mediterranean herbs into the meat for maximum flavor. In addition, the Dijon mustard helps to tenderize the meat and helps form a slight crust on the surface of the lamb that locks the flavors in place as it’s cooked.
Go ahead and preheat your oven to 350F. Make sure the rack is in the middle position of your oven.
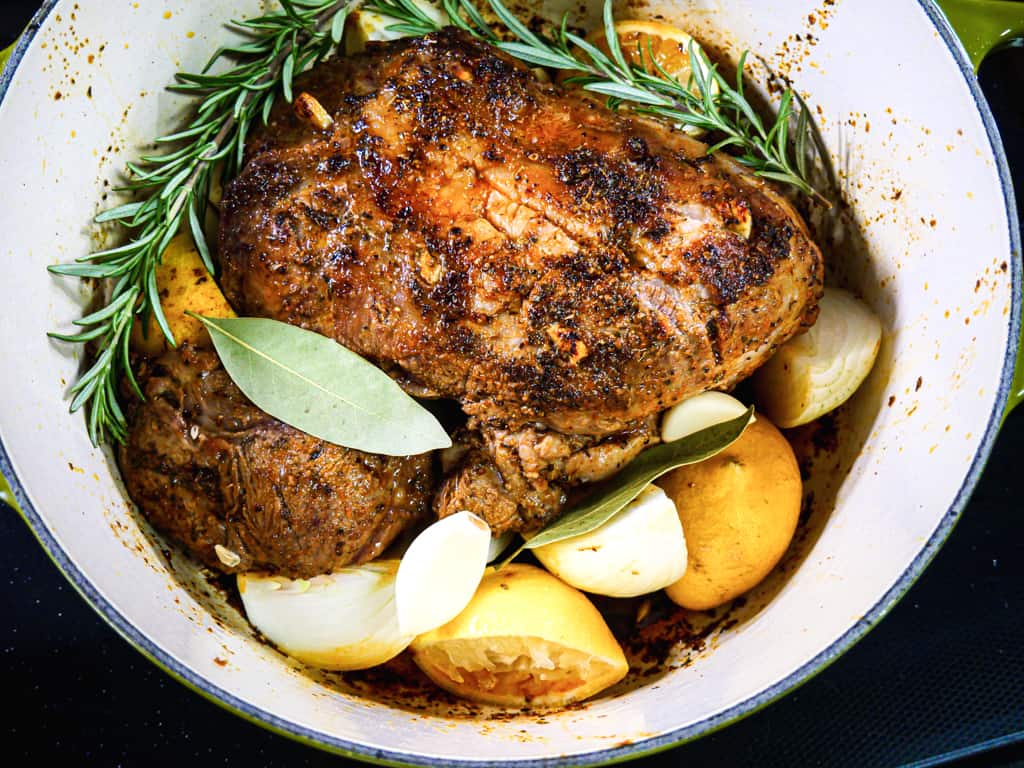
In a large Dutch oven over medium-high heat, add the remaining 2 tbsp of olive oil. Once the oil begins to shimmer (if it begins to smoke, it’s too hot), add in the lamb and let sit for 3-4 minutes untouched. Turn and repeat on all sides to brown the surface forming a flavorful crispy crust.
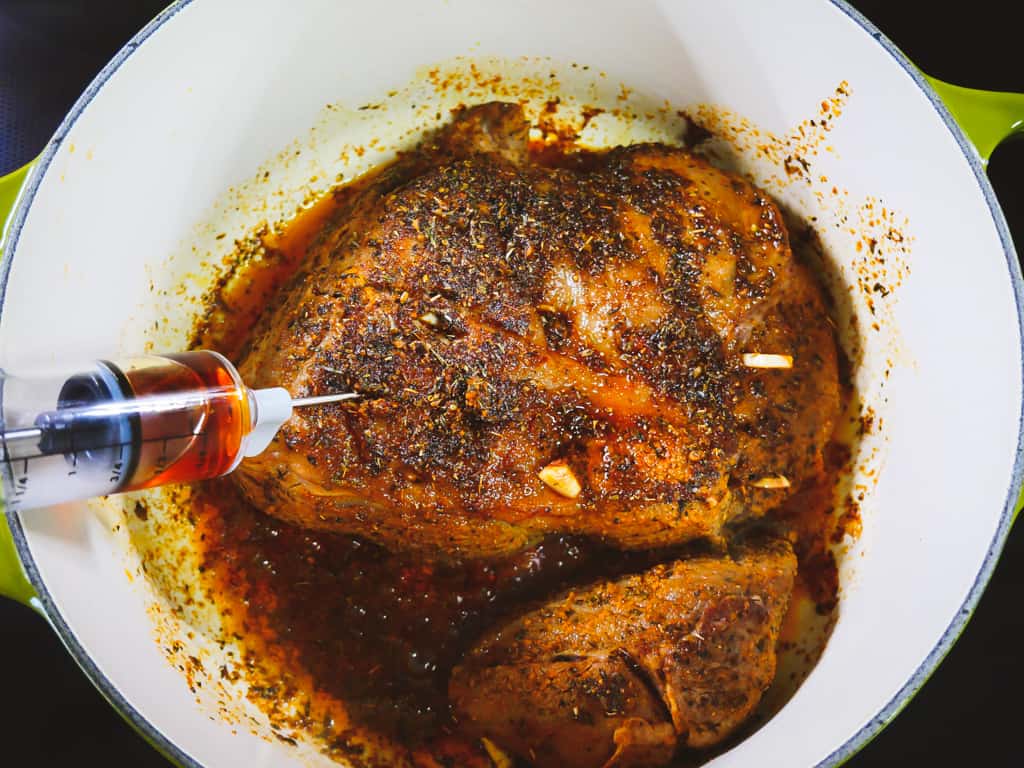
I like to take the juices that pool on the bottom of the pan and inject them into the meat further to infuse those lovely Mediterranean flavors into the lamb meat. You don’t have to do this step, but if you want that heavenly straight-from-Greece lamb flavor, do it!
Once the meat has browned on all sides, squeeze the juice from the lemons halves and toss in the lemon rind to give it some zest as the lamb is slowly braised. Next, place your quartered onions under the lamb to raise it off the pan’s bottom. This helps prevent the meat from sticking to the bottom of the pan as it cooks.
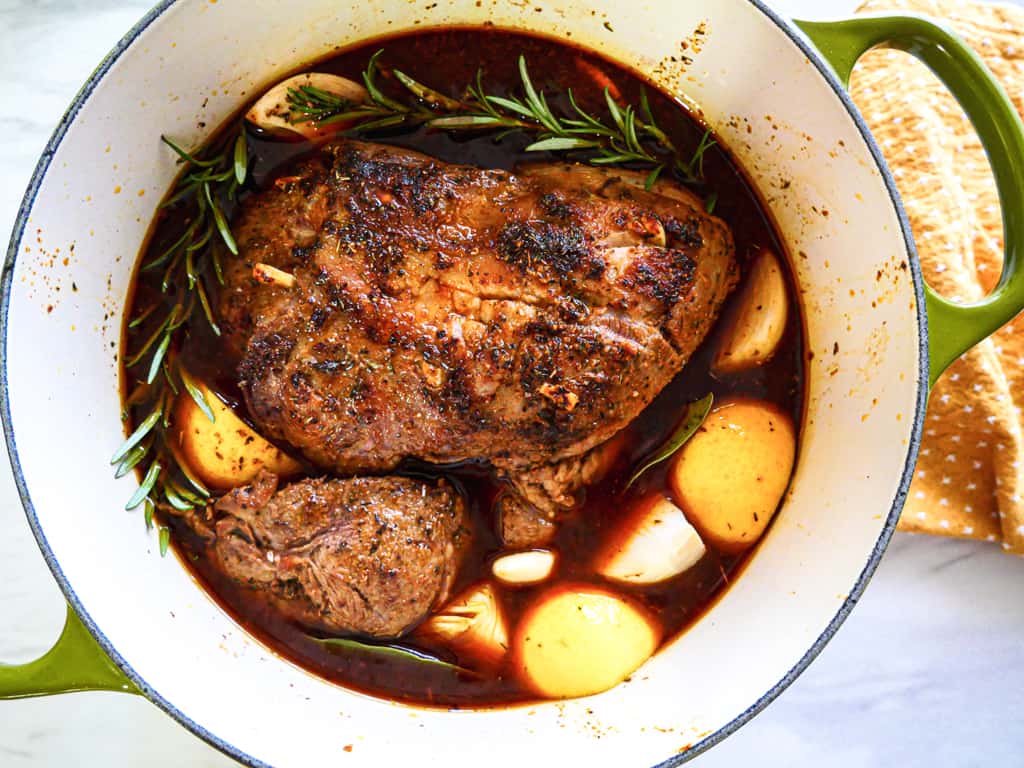
Add bay leaves, sprigs of fresh rosemary, the remaining four cloves of garlic, beef stock, and dry red wine. Bring to a boil and then cover with the lid or tightly wrap in aluminum foil to seal in the steam as it cooks and put in the oven for 3.5-4 hours.
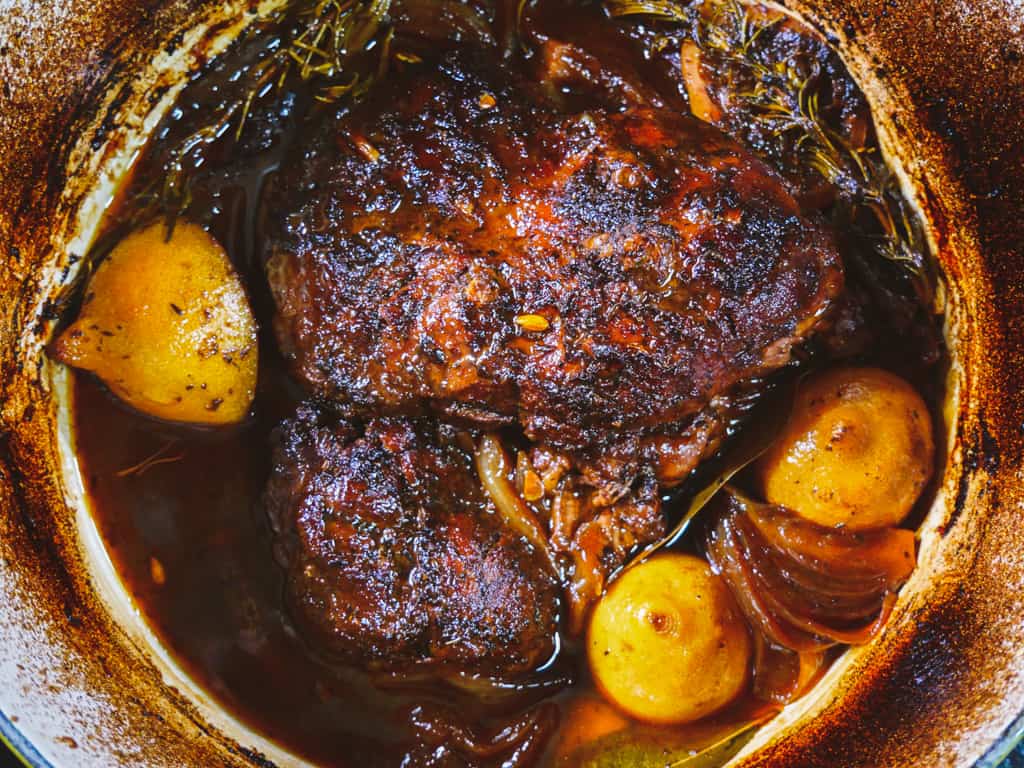
Don’t let it cook too long, as the liquid will eventually dry up, leaving you with a dried-out roast. Nobody wants that, so check on it after around 3 hours, and if it easily shreds like a tender salmon fillet, it’s done. If it’s not there yet, let it cook for another 30 minutes and check again.
Now that it’s done, carefully remove it and plate it. It will shred as you lift it, which is good! All that liquid on the bottom of the pan will have thickened and will be a gravy-like glaze to pour over the roast.
Discard the rest of the contents in the pan other than the liquid that is left over. Straining the liquid in a bowl works best, but you can spoon it over the meat if you don’t want to add extra dishes to clean up later.
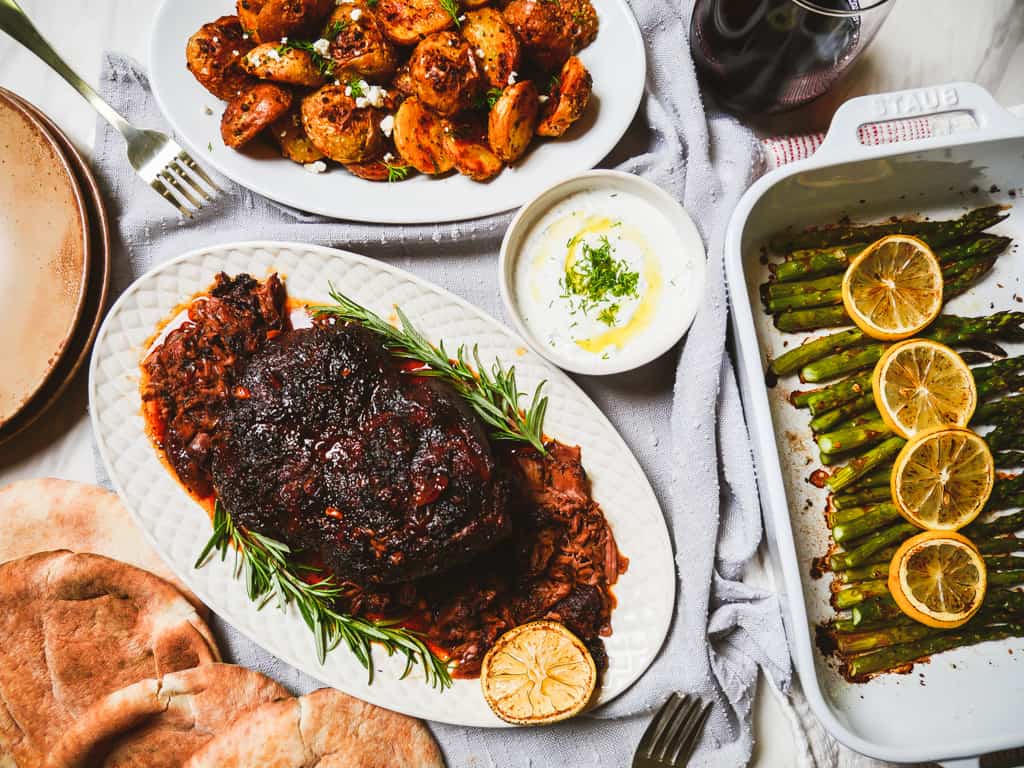
Pair this masterpiece of a roast with some Greek Feta Roasted Potatoes and Lemon Thyme Asparagus. Don’t forget to add some Tzatziki (Greek Style Yogurt Sauce) and a couple of pieces of pita bread to tear for making bite-sized sandwiches as you devour this heavenly Slow Roasted Greek Leg of Lamb roast.
Storage your leftovers in a food-safe air-tight container in the fridge for up to 3-4 days. Reheat in the microwave or oven at 300F until warm throughout.
This post may contain affiliate links for products I use in my kitchen. Please read my disclosure policy.
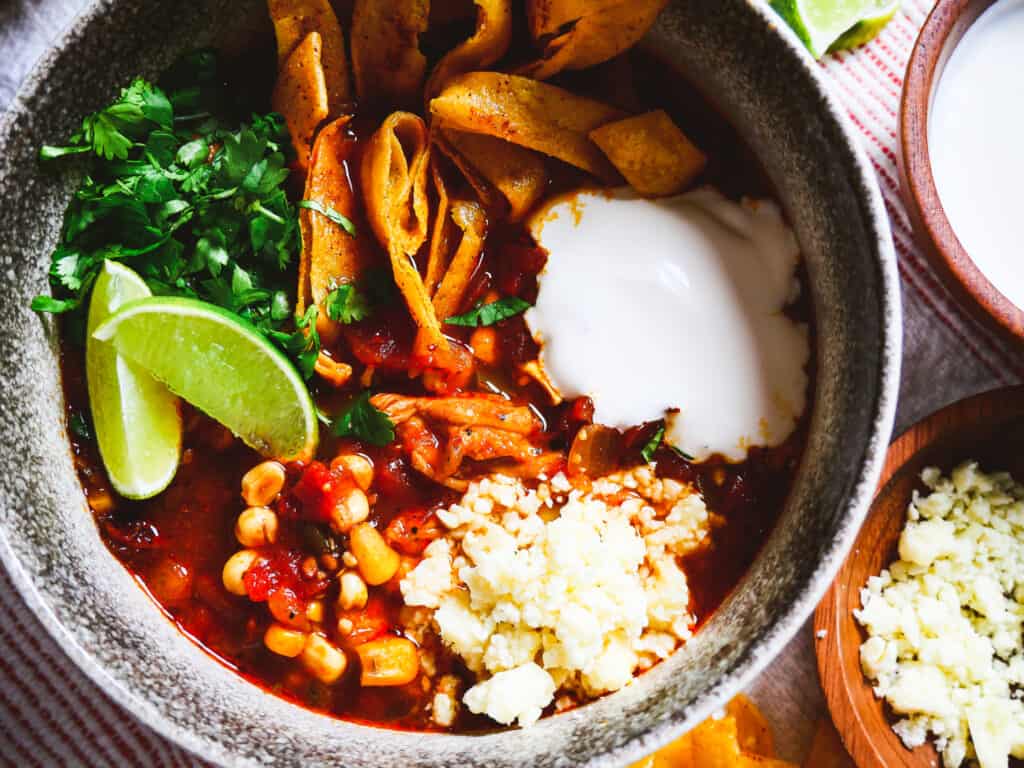
Bring out your favorite hot sauces for this spicy and savory Smoky Chicken Tortilla Soup! This fiery Mexican-inspired soup is made with fire-roasted tomatoes and a savory chicken stock base. It’s got fire-roasted corn, jalapenos, chipotle chiles in adobo sauce, and cilantro slowly simmered, topped with fresh crispy tortilla strips and all the perfect toppings to complete this dish.
This flavorful soup has been on repeat at my house every week. With its easy-to-prepare recipe and just-right amount of fire, no matter how much you eat at once, there will always be leftovers to look forward to the next day. Pair it with some Street Corn Salsa, and you have the perfect meal!
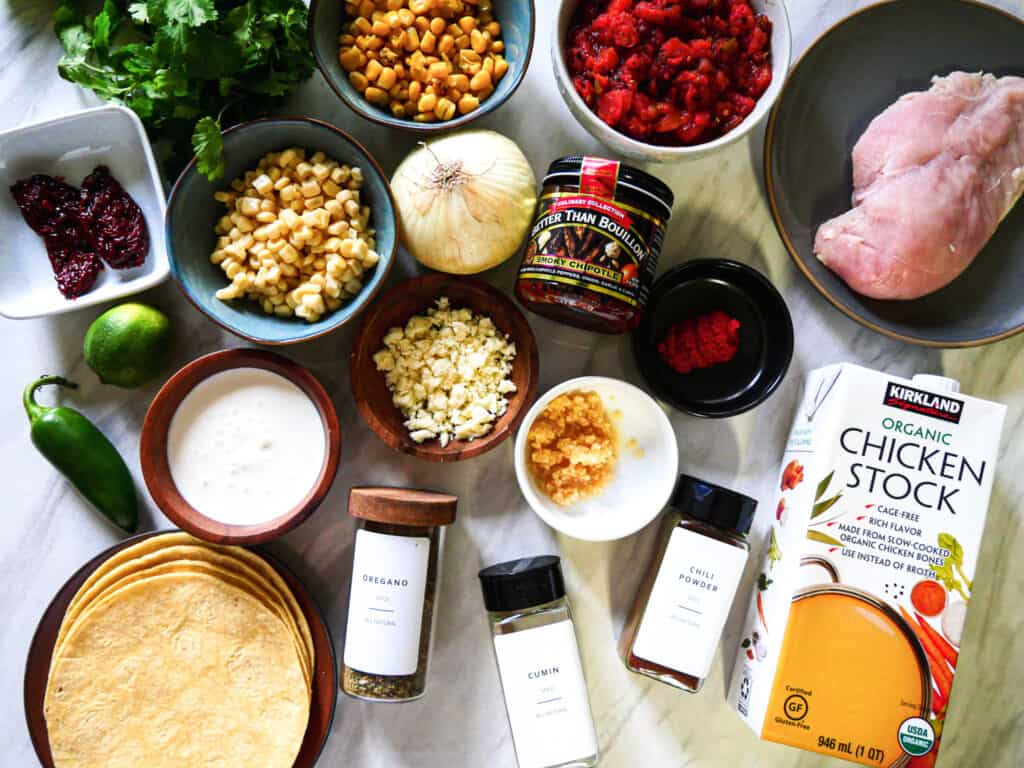
Boneless Skinless Chicken Breast
White Sweet Corn
Fire-Roasted Yellow Sweet Corn
Yellow Onion
Fire-Roasted Diced Tomatoes with Green Chiles
Jalapenos
Lime
Chicken Stock (or Broth)
Chipotle Chiles in Adobo Sauce
Cotija Cheese
Yellow Corn Tortilla
Oregano
Cumin
Chili Powder
Tomato Paste
Better Than Bouillon Smoky Chipotle Base
Mexican Crema
Minced Garlic
Cilantro
Salt + Pepper
Beef Tallow or Canola Oil (for frying tortilla strips)
Prep Your Ingredients
Let’s start prepping for this Smoky Chicken Tortilla Soup. Dice up your yellow onion, jalapeno, and chipotle chiles. Drain the canned corn and tomatoes, and cut your chicken breast into 1-inch pieces.
Season the chicken with 1 tsp each of Oregano, Cumin, Chili Powder, Salt + Pepper.
Let’s Start Cooking The Soup
In a stock pot or Dutch oven over medium heat, add 1 tbsp olive oil and saute the onions, jalapenos, and garlic for 1 min. Add 1 tbsp tomato paste and 1 tsp smoky chipotle base and scrape along the bottom for 2-3 minutes to cook until the tomato paste turns from that bright brick red to a dark brick red releasing the flavors of the tomato paste.
Move everything in the pan to the edges leaving the middle open. Add in another 1 tbsp of olive oil and cook the chicken for 4-5 minutes until browned and crispy. Dump in the fire-roasted yellow sweet corn, sweet white corn, and fire-roasted diced tomatoes with green chiles. Let it all cook for 3-4 minutes to bring out the flavors before you pour in the chicken stock.
YES, lots of fire-roasted ingredients to accentuate the smoky flavors of the dish.
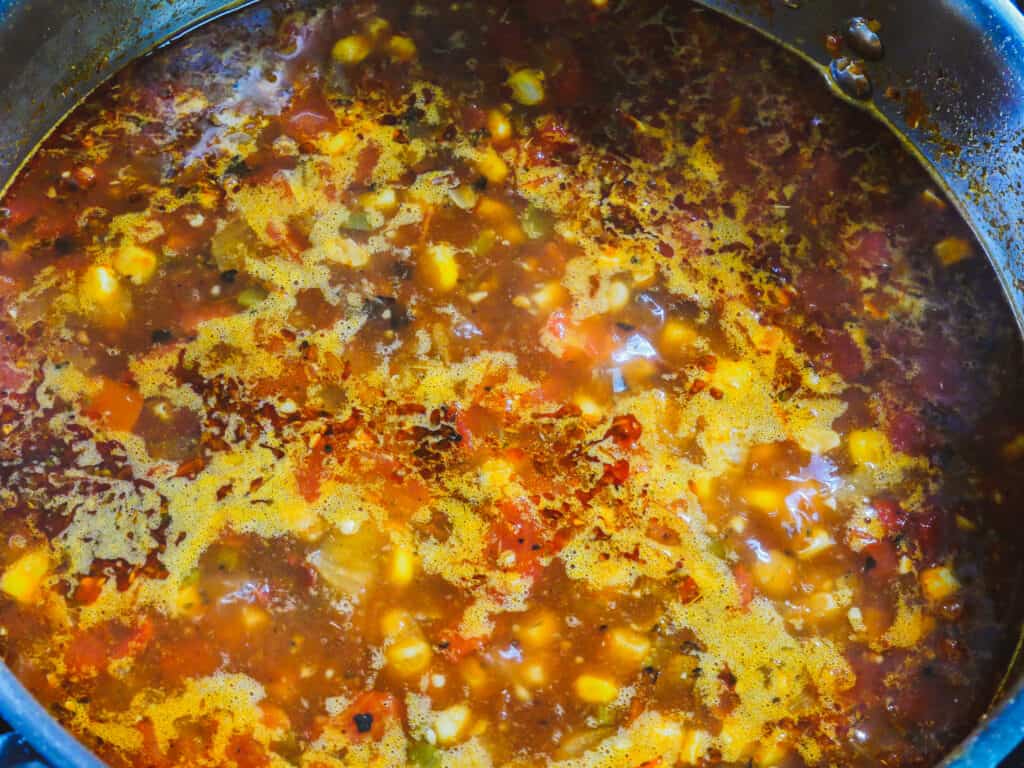
Pour in 2 cups of chicken stock and 1 tsp each of oregano, cumin, and chili powder. Bring to a boil, then reduce to simmer over low heat for 25-30 minutes. While the soup is cooking and filling up your kitchen with its heavenly aroma, fry up those tortilla strips.
Tortilla Strips
Begin by cutting your yellow corn tortillas into 1/2-inch strips. I like to stack them and use a pizza cutter to make the cuts, but you can use a knife too.
In a frying pan heat enough oil to cover 1/4 of the bottom to 350F. Once it’s ready, working in 2 or 3 batches so you don’t overcrowd the pan, gently toss in 1/3 or 1/2 of the strips. Fry for 3-5 minutes until they are golden brown and crispy.
Make sure to stir occasionally to prevent the tortillas from sticking together. Using a slotted spoon, remove the strips once cooked and let them dry on a wire rack or paper towels to drain any excess oil.
Season with a pinch of chili powder, cumin, and salt.
Let’s talk about the toppings!
Cotija Cheese is a must, but you can substitute it with Queso Fresco or your favorite cheese.
Cilantro brings out the flavors, but if you are not a fan of cilantro (I know not everyone likes the taste of cilantro), you can skip this.
Lime Wedges for that zesty zing of flavor in each spoonful.
Mexican Crema has a slightly higher fat content than sour cream, making it milder and slightly thinner than sour cream, which is more acidic. However, you can use sour cream in place if you have it on hand already. I personally love the taste of Mexican Crema.
A spoonful of Pico de Gallo, small chunks of Avocados, or even a large dollop of Guacamole is an excellent addition to this soup.
Make Ahead or Save Your Leftovers
Storage: This soup is perfect for meal prepping or making ahead. Just add the tortillas and toppings when you are ready to eat. Store in a food-safe air-tight container for 5-7 days or freeze for up to 6 months.